We hope you love the products we recommend! Just so you know, we may collect a share of sales or other compensation from the links on this page. Thank you if you use our links, we really appreciate it!
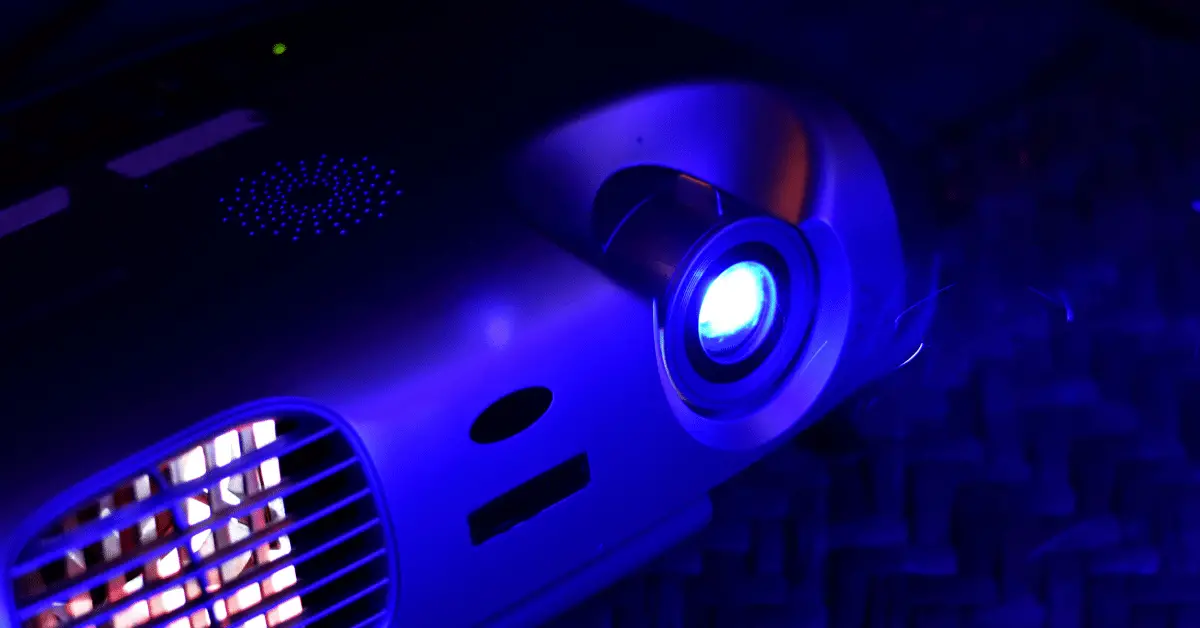
Optoma projectors are known for their exceptional image quality and innovative features, making them a popular choice for home theaters, classrooms, and boardrooms. However, setting up a projector can be daunting, especially if you are not familiar with the process. That’s why we have created this guide to help you set up your Optoma projector quickly and easily. Whether you are a home theater enthusiast, a teacher, or a business professional, this guide will provide you with the information you need to get the most out of your Optoma projector. From connecting the cables to adjusting the image, we will walk you through the steps to ensure that your Optoma projector is set up properly and ready to use. So, let’s get started and learn how to set up optoma projector!
Table of Contents
How to Set up Optoma Projector
The first thing necessary while setting up an Optoma projector is to set up your projector display. Our blog will provide a step-by-step guide on how to set up your projector display appropriately. Without further ado, let’s get straight into our directory.
1. Access the Area Where You Want to Use Your Projector
First, ensure you have a standard throw, short throw or ultra-short throw projector. Before going further, you must know about throw distance and its types.
What is Throw Distance?
Throw distance is the measured breadth the light must travel from the projector lens to the screen’s face. There are three different types of throw distance projectors.
- Standard / Long Throw Projectors
This type of Projector creates a 100″ (16:9) image for about ten feet.
- Short Throw Projectors
Short throw projectors can create the same size as standard throw projectors but at a half distance, i.e. around 4 feet.
- Ultra-Short Throw Projectors
Ultrashort throw projectors can create the same size image as the other two types of Projectors but at 1 or 2 inches.
Arrange the space accordingly to your Projector’s throw distance.
2. Position Your Projector
If your Projector is ceiling mounted, then you must mound your Projector in your arranged space. Do not mount your Projector by yourself; you must call a professional person because he better know at which angle your Projector will be mounded.
3. Connect to Power and Video Source
Now is the time to connect your Projector to the power supply and the video source. Make sure your video source is compatible with your Optoma projector model. Optoma projectors are usually compatible with Laptops/Computers, DVD players, and Smartphones. Their video source has its methods of connecting with projectors. Before going further, first discuss these methods.
- Connecting Computer/laptop to Optoma Projector:
For connecting video sources like computer/laptop with Optoma projector, you need to use the following things, included:
- Power card
- AC Adopter
- Audio Cable
- USB-A to USB-A Cable
- HDMI Cable
- Universal 24-pin to VGA Cable
- Connecting DVD Player with Optoma Projector:
You need only three devices to connect your DVD player to your Optoma projector. Those devices and their functions are mentioned below.
- Power Card
- AC Adopter
- HDMI Cable
- Connecting Cell-Phone with Optoma Projector
You can easily connect your smartphone with an Optoma projector, you only need six devices for the connection, and you are good to go. These six devices are mentioned below with their usage, so let’s jump in.
- Power Card
- AC Adopter
- Audio Cable
- USB Flash Disk
- Micro SD Card
- MHL Cable
4. Display the Size You Want
First, you have to make sure of the projector image size. Choose the size so that everyone can easily watch the screen.
5. Adjust the Image of the Projector
There is various method through which you can easily adjust the image of the Projector. We will discuss these methods one by one. So, let’s begin.
- Rising the projector height:
Rise your Projector at any desired display angle, then use the front tilt adjustment wheel to provide a smooth tone to that specific angle.
- Lowering the projector height:
You may lower the Projector to adjust the image and use the front tilt adjustment wheel to provide a fine tone to that angle.
- Adjusting the projector focus:
To adjust the projector focus, rotate the focus ring on the top of the lens until you get a clear picture. The Projector establishes the direction from 2.82 ft. to 5.64 ft. 86cm to 172 cm.
- Lens shift:
You can use lens shift if you don’t install the Projector directly in the front of the screen; now, you can adjust the position of the projected image with the help of the lens shift. How? Let’s discuss this.
- Press the lens button on the remote control or control panel
- Press it until the lens option display on the screen
- Now press the arrow button on the remote control or control panel until the position of the projected image is adjusted
- Now maximize horizontal and vertical range around (H × 47%) horizontal and (V × 96%) Vertical.
- Adjust ½ the vertical height of the image
- Adjust ½ the horizontal width of the image
Note: you can’t maximize the value of both horizontal and vertical images at the same time.
- If you are done, press the Esc button on the remote control or control panel.
- Keystone:
Keystone correction is used to correct the shape of a rectangular and uneven image from the sides. You can use the keystone button up to 30° left, right, down and up to adjust the picture. We will guide you through some steps on how to use keystone to adjust your projector screen. So, let’s begin.
- To display the keystone adjustment screen first, you must press one of these keystone buttons on the control panel.
- Now press the keystone button on the control panel until the image adjusts
- The horizontal keystone buttons are labeled with T and W
- After keystone correction image gets smaller
- Four corner adjustment:
Through four corner adjustments, you can quickly adjust every corner of the image; it eliminates any crooked or distorted pictures in off-angle or restricted area installations on that excellent image.
- Geometric correction:
The geometric correction allows you to adjust the geometry of the image. Sometimes image gets curved or zig-zag from some area; we use geometric correction at that type of place.
Frequently Asked Questions
1: Which screen is used in Projector?
Square shaped screen is used in Projector.
2: What is the aspect ratio of the screen used in the Projector?
Screens have a 1:1 aspect ratio which is used in projectors.
3: What are the four main types of projectors?
In the projector’s world, there are mainly four types of projectors, those are:
- LCD projector
- DLP projectors
- LED projectors
- LCOS projectors
4: Which lenses are used in projectors?
Convex lenses are used in projectors.
5: Why mirror is used in projectors?
Mirrors are used in projectors because they spread out the light and produce enlarged images.
Conclusion
We discussed some important points about how to set up your Optoma projector. Which things do you keep in mind while mounting your Projector? How you can connect your video source to your Optoma projector, and last but not least, how you can adjust the image of your Projector. I hope so this information is beneficial for you.
Stay blessed, and stay strong.