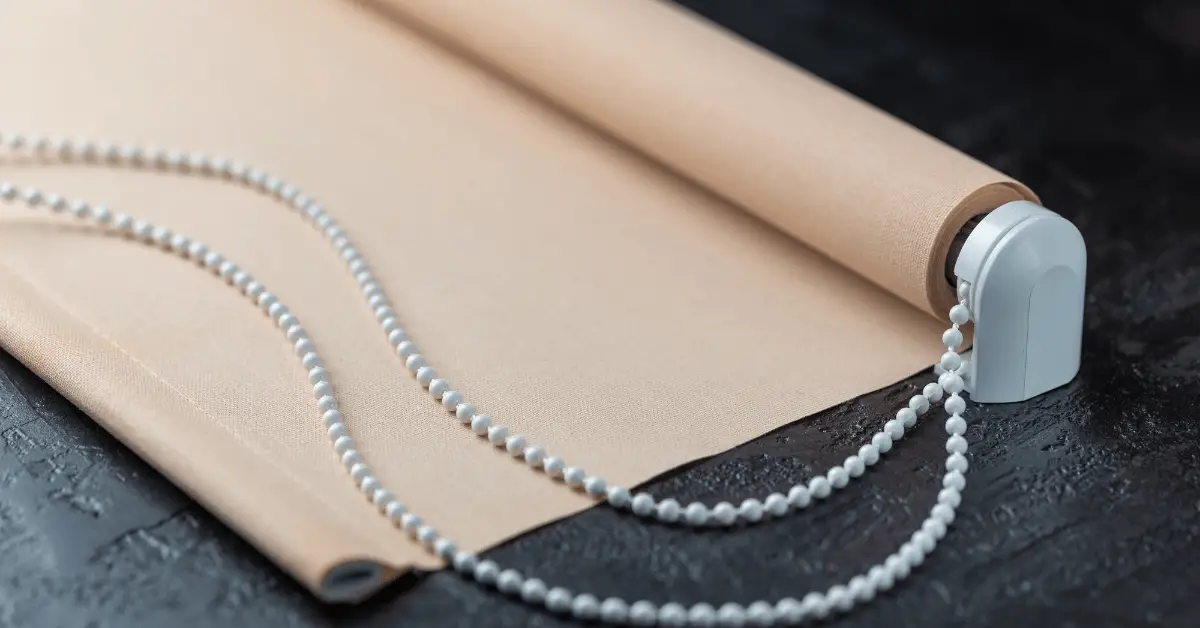
A retractable projector screen can be a great addition to your home theater, providing a large, clear viewing surface without taking up permanent space in your room. Installing a retractable screen may seem daunting, but with the right tools and some basic knowledge, it can be a relatively simple DIY project. In this guide, we’ll walk you through the steps of installing a retractable projector screen, from measuring and marking the installation location to mounting the brackets and screen. By following these instructions, you’ll be able to install your own retractable projector screen and enjoy your favorite movies and TV shows in a theater-like environment.
Table of Contents
How to Install a Retractable Projector Screen?
A retractable projector screen can be a great addition to your home theater, providing a large, clear viewing surface without taking up permanent space in your room. Installing a retractable screen may seem daunting, but with the right tools and some basic knowledge, it can be a relatively simple DIY project. In this guide, we’ll walk you through the steps of installing a retractable projector screen, from measuring and marking the installation location to mounting the brackets and screen.
Step 1: Measure and Mark
The first step in installing a retractable projector screen is to determine where you want to mount the brackets. Measure the distance between the brackets and make sure they are level. Mark the location of the brackets with a pencil or marker.
Step 2: Install the Brackets
Next, you’ll need to install the brackets that will hold the screen. Using the marks you made in Step 1, drill pilot holes for the screws and then attach the brackets to the wall or ceiling using screws.
Step 3: Attach the Screen to the Brackets
Once the brackets are securely mounted, you can attach the screen to them. Most retractable screens come with hooks or loops that attach to the brackets. Simply hang the screen from the brackets and make sure it’s level.
Step 4: Adjust the Screen Tension
After hanging the screen, you may need to adjust the tension to ensure it’s smooth and taut. Most retractable screens come with a tension adjustment knob that can be turned to increase or decrease the tension.
Step 5: Test the Screen
Once the screen is installed and tensioned, it’s time to test it out. Lower the screen all the way down and then retract it back up to ensure it operates smoothly.
Step 6: Enjoy Your Home Theater
With your retractable projector screen installed, you’re ready to enjoy your favorite movies and TV shows in a theater-like environment. Just remember to keep the screen clean and free of dust to ensure the best picture quality.
How do you fix a retractable projector screen?
Retractable projector screens are a convenient and easy way to enjoy movies and television shows in your home theater. However, like any other electronic device, these screens can experience issues and require repairs. Here are some common problems that may occur with retractable projector screens and how to fix them:
- The Screen is Stuck: If the screen is stuck and won’t retract, there may be an issue with the motor or the tension in the screen. Try adjusting the tension using the tension adjustment knob. If that doesn’t work, check the motor and wiring to see if there are any issues that need to be addressed.
- The Screen is Wrinkled or Has Creases: Over time, retractable screens may develop wrinkles or creases, which can affect the picture quality. To fix this issue, gently pull the screen taut and use a hairdryer on low heat to apply gentle heat to the wrinkled areas. This will help to smooth out any wrinkles and creases.
- The Screen is Sagging: If the screen is sagging or drooping in the middle, it may be due to loose or damaged tensioning mechanisms. Check the tension adjustment knob and make sure it is tightened correctly. If the screen is still sagging, you may need to replace the tensioning mechanism or contact a professional for repairs.
- The Screen is Dirty: Dirt and dust can accumulate on the screen, which can affect the picture quality. To clean the screen, use a soft, lint-free cloth and gently wipe the surface. Avoid using any harsh chemicals or abrasive materials, as these can damage the screen.
- The Screen is Noisy: If the motor or other parts of the retractable screen are making loud noises, it may be due to loose or worn-out components. Check the motor and other moving parts for damage or wear and replace any damaged components.
In conclusion, fixing a retractable projector screen can be a simple DIY project or may require the assistance of a professional, depending on the issue. By identifying the problem and following these steps, you can ensure that your retractable screen is working properly and providing you with the best possible viewing experience.
Conclusion
In conclusion, installing a retractable projector screen is a simple DIY project that can enhance your home theater experience. By following these steps, you’ll be able to install your own screen and enjoy your favorite content on a large, clear viewing surface. With the right tools and some basic knowledge, you can create a theater-like environment in the comfort of your own home.


