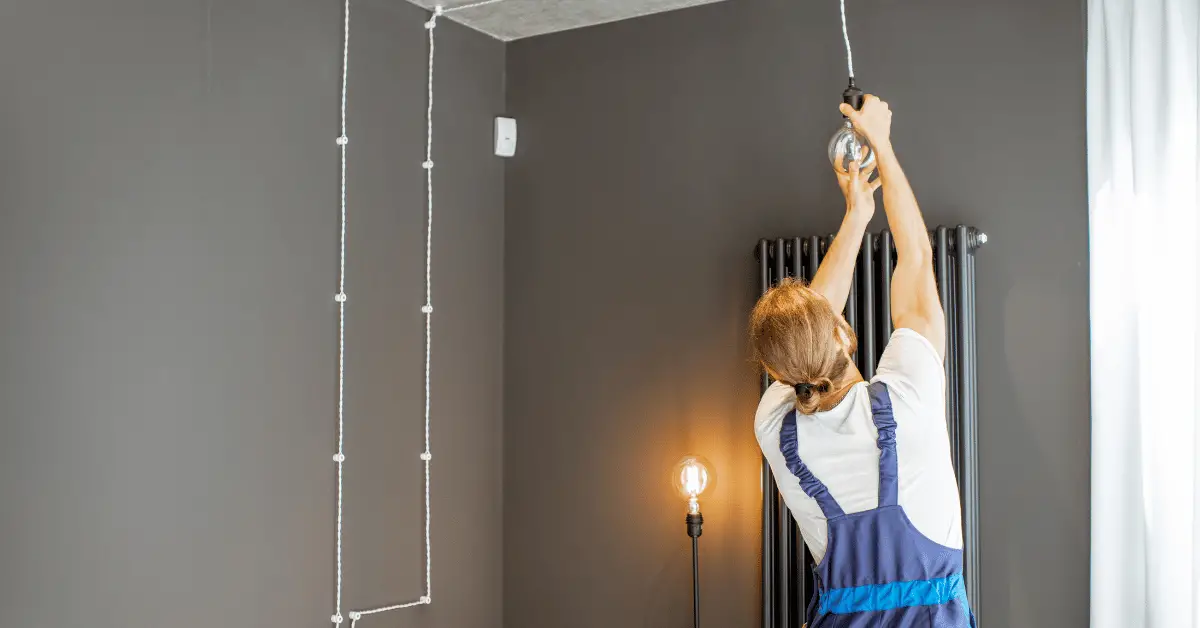
Projectors are an essential tool for presentations, movie nights, and home theater experiences. However, over time, the lamp in your projector can begin to dim or flicker, affecting the quality of the image. When this happens, it’s time to replace the projector lamp. While the thought of replacing the lamp may seem daunting, it’s actually a simple DIY process that can be done with just a few tools. In this guide, we’ll walk you through the steps of replacing your projector lamp, from removing the old lamp to installing the new one. By following these steps, you can keep your projector running smoothly and enjoy the best possible image quality.
Table of Contents
Everything You Need to Know about Projector Lamp Replacement
Projector lamps are an essential component of a projector, providing the light source that creates the image on the screen. Over time, the lamp in your projector can begin to dim or flicker, affecting the quality of the image. When this happens, it’s time to replace the projector lamp. While the thought of replacing the lamp may seem daunting, it’s actually a simple DIY process that can be done with just a few tools. In this guide, we’ll walk you through everything you need to know about projector lamp replacement, from identifying when it’s time to replace the lamp to installing the new one.
When is it Time to Replace Your Projector Lamp?
The lifespan of a projector lamp can vary depending on usage and environmental factors, but most lamps have a lifespan of between 2,000 and 4,000 hours. Some projectors have a lamp timer that will indicate when it’s time to replace the lamp. Other signs that it’s time to replace your projector lamp include a dim or flickering image, strange colors or patterns on the screen, or a message on the screen indicating that the lamp is nearing the end of its lifespan.
Step-by-Step Guide to Projector Lamp Replacement
- Turn off the projector and unplug it from the power source.
- Allow the projector to cool down completely before attempting to replace the lamp.
- Locate the lamp compartment on your projector. This is usually located on the bottom or back of the projector and will have a cover that can be removed.
- Remove the lamp cover and locate the lamp assembly. Depending on the projector, the lamp assembly may be held in place by a screw or a clip.
- Carefully remove the old lamp assembly from the projector, being careful not to touch the lamp itself as this can cause damage.
- Install the new lamp assembly by carefully inserting it into the lamp compartment and securing it with the screw or clip.
- Replace the lamp cover and ensure it is securely in place.
- Plug the projector back in and turn it on.
- Reset the lamp timer if necessary.
- Test the projector to ensure the new lamp is working properly.
Tips for Projector Lamp Replacement
- Always refer to the manufacturer’s instructions for your specific projector model.
- Be careful when handling the lamp assembly, as it can be fragile and easily damaged.
- Don’t touch the lamp itself as the oils from your skin can cause damage.
- Make sure the lamp cover is securely in place before turning the projector back on.
- Dispose of the old lamp assembly properly, following local regulations for electronic waste disposal.
What is an important step when changing the lamp of a projector?
When changing the lamp of a projector, there are several important steps that should be taken to ensure that the process is safe and effective. One of the most crucial steps is to allow the projector to cool down completely before attempting to replace the lamp.
Projector lamps can become extremely hot during operation and require time to cool down before they can be safely handled. Attempting to remove the lamp while it is still hot can result in burns or damage to the lamp assembly.
To ensure that the projector is completely cooled down, it’s recommended to turn off the projector and unplug it from the power source. Wait at least 30 minutes for the projector to cool down before attempting to replace the lamp.
Another important step when changing the lamp of a projector is to avoid touching the lamp itself. The oils from your skin can cause damage to the lamp, and the lamp can be fragile and easily damaged. When handling the lamp assembly, it’s recommended to wear gloves or use a cloth to avoid touching the lamp.
It’s also important to make sure that the new lamp assembly is installed correctly and securely. Depending on the projector model, the lamp assembly may be held in place by a screw or a clip. Carefully insert the new lamp assembly into the lamp compartment and secure it with the screw or clip.
After the new lamp assembly is installed, it’s recommended to reset the lamp timer if necessary. This will ensure that the projector is tracking the lifespan of the new lamp correctly and will provide accurate warnings when it’s time for another replacement.
In conclusion, allowing the projector to cool down completely before attempting to replace the lamp is an important step in ensuring the safety and effectiveness of the process. It’s also important to avoid touching the lamp itself, make sure the new lamp assembly is installed correctly, and reset the lamp timer if necessary. By following these steps, you can safely and effectively change the lamp of your projector and ensure the best possible image quality.
Conclusion
In conclusion, replacing the lamp in your projector is a simple DIY process that can help to ensure the best possible image quality. By following these steps and tips, you can safely and easily replace your projector lamp and enjoy the best possible viewing experience.