Installing a projector can be a challenging task, especially for those who are not experienced with home theater setups. Proper installation is essential for achieving optimal performance and safety. In this article, we will cover the dos and don’ts of projector installation to help you achieve a successful installation. We will cover topics such as choosing the right location, ensuring proper ventilation, and avoiding common installation mistakes. By following these tips, you can ensure that your projector performs optimally and safely for years to come.
Projection Installation: The Dos and Don’ts
Projector installation can be a challenging task, especially for those who are not experienced with home theater setups. Proper installation is essential for achieving optimal performance and safety. In this article, we will cover the dos and don’ts of projector installation to help you achieve a successful installation. We will cover topics such as choosing the right location, ensuring proper ventilation, and avoiding common installation mistakes.
Do: Choose the Right Location
The first step in a successful projector installation is to choose the right location for the projector. Choose a location that is central to the screen and free from obstructions such as furniture or lighting fixtures. Consider the distance from the screen and the viewing angle to ensure that the projector is mounted at the right height and angle for optimal viewing. Additionally, ensure that there is adequate space for the projector and cables, and that the location is easily accessible for maintenance.
Do: Ensure Proper Ventilation
Proper ventilation is essential for preventing overheating and ensuring optimal performance of the projector. Ensure that the location of the projector allows for adequate airflow around the projector. Avoid installing the projector in an enclosed space or near heat sources such as radiators or heaters. If necessary, install a fan or ventilation system to ensure that the projector remains cool and performs optimally.
Don’t: Use the Wrong Mounting Hardware
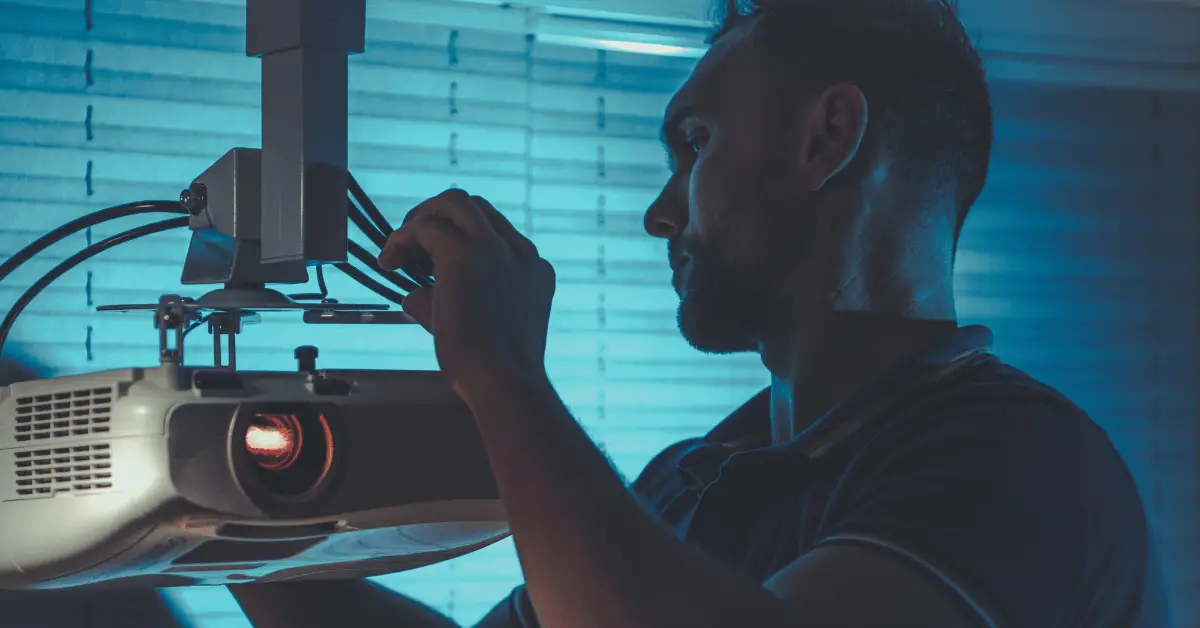
Using the wrong mounting hardware can lead to an unstable or unsafe installation. Ensure that you use the right mounting hardware for your specific projector and mounting location. Consult the manufacturer’s instructions or a professional installer if you are unsure about the right hardware to use. Additionally, ensure that the mounting hardware is securely attached to the ceiling or wall and can support the weight of the projector.
Don’t: Forget about Cables and Connections
Cables and connections are an essential part of the projector installation process. Ensure that you have the right cables and connectors for your specific projector and that they are long enough to reach from the projector to the source device. Additionally, ensure that the cables are securely connected and do not pose a tripping hazard.
Do: Calibrate the Projector
After installing the projector, it is important to calibrate it to ensure optimal image quality. Use the manufacturer’s instructions or a professional installer to calibrate the projector. This includes adjusting the brightness, contrast, color, and other settings to ensure that the image is clear and vibrant.
How do you install a projector?
Installing a projector involves several steps to ensure optimal performance and safety. Here are the general steps to install a projector:
- Choose the right location: Choose a location that is central to the screen and free from obstructions such as furniture or lighting fixtures. Consider the distance from the screen and the viewing angle to ensure that the projector is mounted at the right height and angle for optimal viewing.
- Install the mounting hardware: Use the right mounting hardware for your specific projector and mounting location. Ensure that the mounting hardware is securely attached to the ceiling or wall and can support the weight of the projector.
- Connect the cables: Use the right cables and connectors for your specific projector and ensure that they are long enough to reach from the projector to the source device. Connect the cables securely and ensure that they do not pose a tripping hazard.
- Position the projector: Position the projector on the mounting hardware and adjust the angle and height to ensure optimal viewing. Ensure that the projector is level and not tilted.
- Calibrate the projector: Use the manufacturer’s instructions or a professional installer to calibrate the projector. Adjust the brightness, contrast, color, and other settings to ensure that the image is clear and vibrant.
- Ensure proper ventilation: Ensure that the location of the projector allows for adequate airflow around the projector. Avoid installing the projector in an enclosed space or near heat sources such as radiators or heaters. If necessary, install a fan or ventilation system to ensure that the projector remains cool and performs optimally.
- Test the projector: Test the projector to ensure that it is working properly and that the image is clear and vibrant. Adjust the settings as necessary to ensure optimal performance.
In conclusion, installing a projector requires careful consideration of the location, mounting hardware, cables, calibration, and ventilation. Follow the steps outlined above and consider consulting a professional installer if you are unsure about any aspect of the installation process. With the right installation, you can enjoy an immersive and cinematic viewing experience in the comfort of your own home.
Conclusion
In conclusion, a successful projector installation requires careful consideration of the location, ventilation, mounting hardware, cables and connections, and calibration. By following the dos and don’ts outlined in this article, you can ensure that your projector performs optimally and safely for years to come. Additionally, consider consulting a professional installer if you are unsure about any aspect of the installation process. With the right installation, you can enjoy an immersive and cinematic viewing experience in the comfort of your own home.


