Projectors are essential tools for presentations, home entertainment, and other purposes. However, sometimes the projector lens may become disassembled, which can seem like a daunting task to put it back together. Putting a projector lens back together can be done quickly and easily with the right tools and steps. In this article, we will guide you through the steps to put a projector lens back together, from disassembly to reassembly. So, if you’re struggling with a disassembled projector lens, read on to learn how to put it back together.
Table of Contents
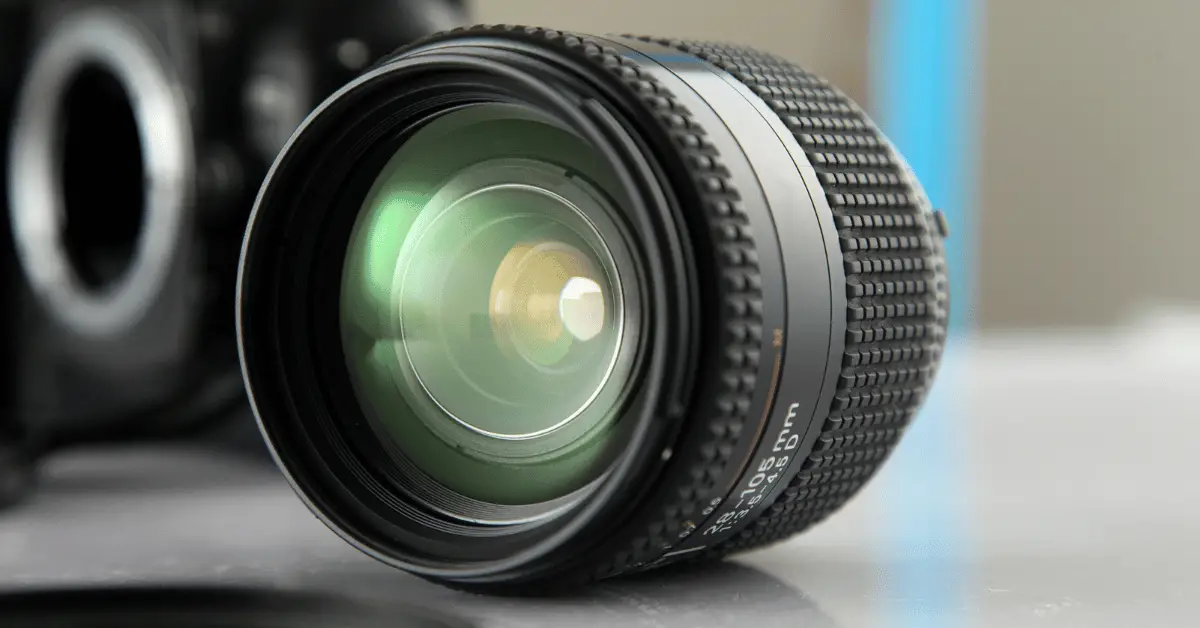
How To Put A Projector Lens Back Together?
Projectors are popular tools for presentations, home entertainment, and other purposes. However, if you have ever disassembled your projector lens, you may have found it challenging to put it back together. Putting a projector lens back together may seem daunting at first, but with the right tools and steps, it can be done quickly and easily. In this article, we will guide you through the steps to put a projector lens back together, from disassembly to reassembly.
Tools Needed
- Screwdriver
- Pliers
- Cleaning cloth
- Lens cleaning solution
- Adhesive tape
Steps to Put a Projector Lens Back Together
- Disassemble the lens: Before putting the projector lens back together, you will need to disassemble it. Use a screwdriver and pliers to carefully remove any screws or parts that are holding the lens together. Be sure to keep track of all the parts as you remove them, so you know where they go when reassembling the lens.
- Clean the lens: Once the lens is disassembled, use a cleaning cloth and lens cleaning solution to clean each part of the lens thoroughly. This will ensure that there is no dirt, dust, or other debris that can affect the quality of the projected image.
- Reassemble the lens: After cleaning the lens, it’s time to put it back together. Start by placing the lens elements back in their original positions. Use adhesive tape to hold them in place temporarily. Then, reattach any screws or parts that were removed during disassembly, following the manufacturer’s instructions for proper placement.
- Test the lens: Once the lens is reassembled, it’s important to test it to ensure that it is working correctly. Connect the projector to a device and turn it on to project an image. Check to make sure that the image is clear, sharp, and in focus. If the image is blurry or out of focus, you may need to disassemble the lens and make adjustments.
- Fine-tune the lens: If the image is not in focus, you may need to adjust the lens elements. Use the manufacturer’s instructions to determine which lens element to adjust and how to adjust it. Be careful not to over-tighten any screws or damage any parts of the lens.
- Final check: Once you have made any necessary adjustments, test the lens again to ensure that it is working correctly. If everything looks good, your projector lens is ready to go!
How To Remove a Projector Lens?
Removing a projector lens can be a necessary step when cleaning or replacing the lens. The process may vary slightly depending on the model and make of the projector, but in general, it can be done with the following steps:
Tools Needed
- Screwdriver
- Cleaning cloth
- Lens cleaning solution
Steps to Remove a Projector Lens
- Turn off the projector: Before removing the lens, turn off the projector and unplug it from the power source. This will ensure your safety and protect the projector from any electrical damage.
- Locate the lens: Locate the lens on the projector. It is usually located at the front of the projector and is held in place by a locking mechanism or screws.
- Remove the locking mechanism: If the lens is held in place by a locking mechanism, use a screwdriver to unlock it. Some locking mechanisms may require you to turn them counterclockwise, while others may require you to press down on a lever.
- Remove the screws: If the lens is held in place by screws, use a screwdriver to carefully remove them. Be sure to keep track of the screws so that you can easily replace them when you reattach the lens.
- Remove the lens: Once the locking mechanism or screws are removed, the lens should come loose. Carefully remove the lens from the projector and set it aside on a clean, dry surface.
- Clean the lens: Before reattaching the lens, clean it with a cleaning cloth and lens cleaning solution. This will remove any dirt, dust, or other debris that may have accumulated on the lens. Be sure to clean both sides of the lens thoroughly.
Conclusion
Putting a projector lens back together can be a challenging task, but with the right tools and steps, it can be done quickly and easily. By following the steps outlined in this article, you can disassemble, clean, and reassemble your projector lens, ensuring that it is working correctly and providing the best possible image quality. So, whether you are using your projector for presentations or entertainment purposes, keep these tips in mind to keep your lens in top condition.