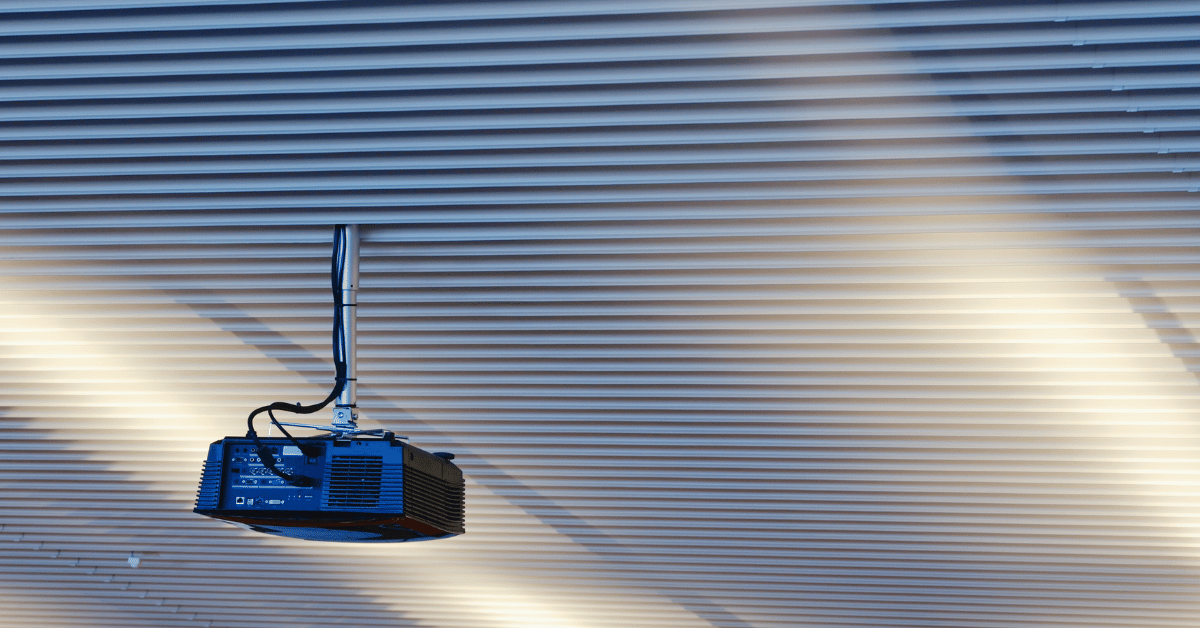
Overhead projectors have been a mainstay in classrooms and boardrooms for decades, used to project images and text onto a screen or wall for a large audience to see. Although they have largely been replaced by digital projectors in recent years, overhead projectors were once an essential tool for educators and presenters alike. But how do they work? In this article, we’ll explore the inner workings of an overhead projector and explain how it projects images onto a screen or wall, as well as the benefits and drawbacks of using an overhead projector compared to modern digital projectors.
Table of Contents
How Does An Overhead Projector Work?
An overhead projector is a device that projects images and text onto a screen or wall. Although they have largely been replaced by digital projectors in recent years, overhead projectors were once an essential tool for educators and presenters alike. In this article, we’ll explore the inner workings of an overhead projector and explain how it projects images onto a screen or wall, as well as the benefits and drawbacks of using an overhead projector compared to modern digital projectors.
How an Overhead Projector Works
An overhead projector works by shining light through a transparent plastic sheet or film onto a mirror that reflects the image onto a screen or wall. The plastic sheet or film is placed on a flat, glass surface called the stage, which has a light source underneath it. The light shines through the plastic sheet or film and is projected onto the mirror, which reflects the image onto a screen or wall.
One of the advantages of an overhead projector is that it can project images onto a large surface, making it ideal for use in classrooms or boardrooms. Additionally, overhead projectors are easy to use and require minimal setup time, making them a popular choice for educators and presenters who need to quickly and easily project images onto a screen or wall.
Benefits and Drawbacks of Using an Overhead Projector
While overhead projectors were once the go-to choice for projecting images in classrooms and boardrooms, they have largely been replaced by digital projectors in recent years. One of the main advantages of digital projectors is that they can display high-quality images and videos, which makes them ideal for use in multimedia presentations.
Another drawback of overhead projectors is that they can be difficult to use in brightly lit rooms or in rooms with windows. Since the image projected by an overhead projector is not as bright as a digital projector, it can be difficult to see in a brightly lit room.
Different Parts of Overhead Projectors
An overhead projector is a device that projects images or text onto a screen or wall. Understanding the different parts of an overhead projector can help you better use and maintain it. Here are the different parts of an overhead projector:
- Stage: The stage is a flat, glass surface where you place the transparencies or other materials you want to project. The light source underneath the stage shines through the transparency and reflects the image onto a mirror.
- Lamp: The lamp is the light source that illuminates the transparency on the stage. It can be either an incandescent bulb or a halogen lamp.
- Reflective Mirror: The reflective mirror is a small mirror that reflects the light from the transparency onto the projection lens.
- Fresnel Lens: The Fresnel lens is a special type of lens that helps to focus and magnify the image projected onto the screen.
- Projection Lens: The projection lens is the lens that focuses the light from the reflective mirror and Fresnel lens onto the screen or wall.
- Focus Knob: The focus knob is used to adjust the focus of the projected image. You can turn the focus knob to make the image sharper or softer.
- Arm: The arm is the part of the overhead projector that holds the projection lens and allows you to adjust the angle of the projected image.
- Power Switch: The power switch turns the overhead projector on and off.
- Cooling Fan: The cooling fan helps to dissipate the heat generated by the lamp and other components, preventing overheating and prolonging the life of the overhead projector.
- Power Cord: The power cord is used to connect the overhead projector to a power source.
- Adjustment Knobs: The adjustment knobs are used to adjust the angle and position of the projected image. You can use them to move the image up, down, left, or right.
Understanding the different parts of an overhead projector can help you use and maintain it properly. Knowing how to adjust the focus and angle of the image, replace the lamp, and clean the lens and mirror can help you get the most out of your overhead projector.
Conclusion
An overhead projector is a device that projects images and text onto a screen or wall by shining light through a transparent plastic sheet or film onto a mirror that reflects the image onto a screen or wall. While overhead projectors were once a popular choice for projecting images in classrooms and boardrooms, they have largely been replaced by digital projectors in recent years. While overhead projectors are easy to use and require minimal setup time, they have some limitations in terms of image quality and brightness.