If you’ve recently purchased an Optoma projector, you may be wondering how to change the language on your device. This article will provide instructions on how to access the Language menu and select your desired language. Keep in mind that some languages may not be available depending on your model of Optoma projector.
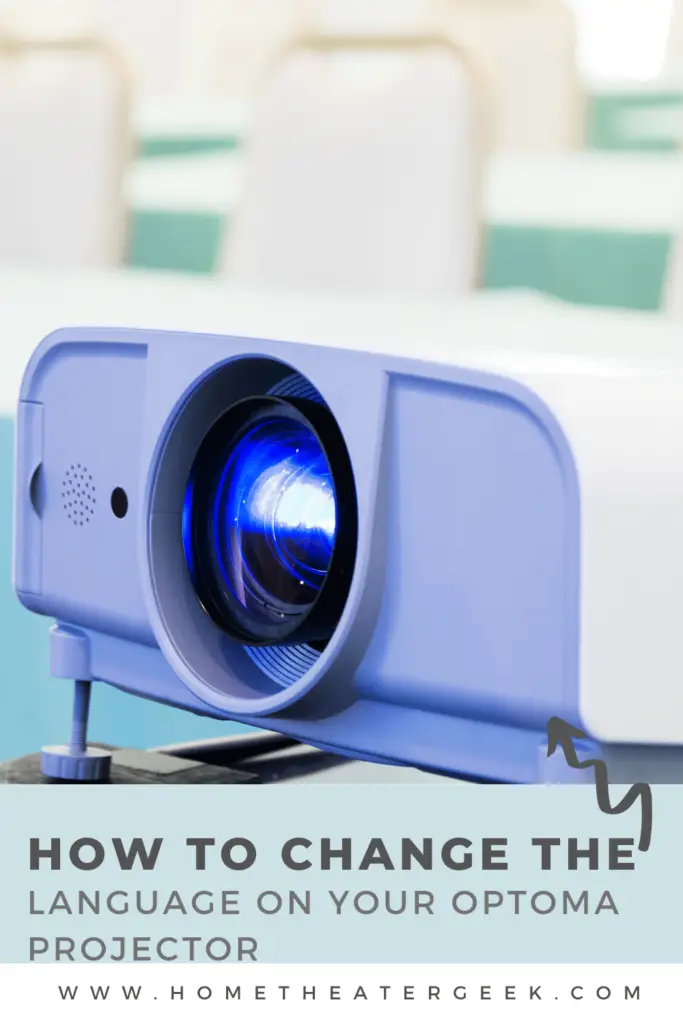
Table of Contents
How to Change the Language on your Optoma projector
If you have an Optoma projector and need to change the language, there are a few simple steps you can follow. First, locate the “Language” menu in the projector’s main menu. From here, you can use the up and down arrow keys to scroll through the available languages.
Once you have found the desired language, press the “Enter” key to select it. This will save your changes and exit the menu. If you need to change the language back to English at any point, simply repeat these steps and select “English” from the list of available languages.
Accessing the Language Menu
Your Optoma projector is equipped with a language menu that allows you to select the language in which the menus and on-screen messages will be displayed. To access the language menu, follow these steps:
Press the Menu button on the remote control.
Use the up and down arrow keys to navigate to the Language menu item.
Press the Enter key to select the Language menu item.
Use the up and down arrow keys to scroll through the list of available languages.
Press the Enter key to select the desired language.
Press the Menu button to exit the menu. After making your selection, all of the menus and on-screen messages will be displayed in your chosen language.
Frequently Asked Questions – Optoma Projector
1. How do I reset my Optoma projector?
If you need to reset your Optoma projector, there are a few simple steps you can follow. First, locate the reset button on the projector. This is usually located on the back or bottom of the unit. Once you’ve found the reset button, press and hold it for five seconds.
This will initiate the reset process and clear any current settings. Next, you’ll need to reconfigure your projector according to your needs. This may include selecting the correct input source, adjusting the aspect ratio, and configuring other display settings.
Once you’ve finished configuring your projector, it should be ready to use. If you have any further questions or problems, please consult your Optoma user manual or contact customer support for assistance.
2. How do I set up my Optoma projector?
Before you can start using your Optoma projector, there are a few things you need to do to set it up. First, you’ll need to find a suitable location for the projector. It should be in a dark room with a flat surface on which to project the image.
You’ll also need to make sure that the projector is at least three feet away from any wall or other obstruction. Once you’ve found a suitable location, the next step is to connect the projector to a power source and an HDMI-compatible device. The HDMI cable will carry both the video and audio signals from your device to the projector.
Once everything is connected, you should see the image from your device appear on the screen or wall. If you need to make any adjustments, you can use the buttons on the projector to focus the image and change the zoom level. Finally, once you’re satisfied with the image, you can sit back and enjoy your Optoma projector.
3. How do I update optoma firmware?
Keeping your Optoma projector up-to-date with the latest firmware is important for ensuring optimal performance and compatibility with the latest devices and software. Fortunately, updating the firmware on your Optoma projector is a relatively simple process that can be completed in just a few minutes.
First, make sure that you have downloaded the latest firmware from the Optoma website. Next, connect your projector to your computer using a USB cable. Once the connection is established, launch the Optoma Firmware Update Utility.
The utility will prompt you to select the firmware file that you downloaded earlier. After selecting the file, click the “Update” button to begin the update process. Once the update is complete, restart your projector and you should be all set!
5. How do I connect to optoma?
Before you can enjoy the benefits of your Optoma projector, you’ll need to take a few minutes to set it up. First, find a suitable location for your projector. It should be level and stable, with enough clearance to allow for proper cooling.
Next, connect the power cord and plug it into an outlet. Then, connect your video source to the projector. This can be done using an HDMI cable, VGA cable, or composite video cable. Finally, turn on your projector and use the remote control to select the appropriate input source. Once everything is connected, you’re ready to enjoy your favorite movies, TV shows, and slideshows in stunning high definition.
Closing thoughts
We hope this article has been helpful in guiding you through the process of changing the language on your Optoma projector. If you have any further questions, please feel free to comment down below for further assistance. Thanks for reading!