Decorating cookies and cakes is an art that requires precision and attention to detail. One of the best ways to achieve accurate results is by using a projector to display images onto the baked goods, making it easier to create intricate designs. Pico projectors are small, portable, and convenient for this purpose. However, with so many options on the market, it can be challenging to choose the best one for your needs. In this article, we will review the top pico projectors for cookies and cake decorating and provide a detailed guide to help you choose the best one for your needs.
Table of Contents
What The Best Pico Projector for Cookies and Cake Decorating?
Decorating cookies and cakes requires a high level of precision and attention to detail. One of the most effective ways to achieve accurate results is by using a projector to display images onto the baked goods, making it easier to create intricate designs. Pico projectors are small, portable, and convenient for this purpose. In this article, we will review the top pico projectors for cookies and cake decorating and provide a detailed guide to help you choose the best one for your needs.
Top Pico Projectors for Cookies and Cake Decorating
- AAXA P300 Pico Projector: This projector is lightweight and portable, making it easy to carry with you wherever you go. It features a 1280×800 resolution and 500 lumens of brightness, making it perfect for displaying images onto baked goods. The projector also has an HDMI input, allowing you to connect it to your computer or phone.
- LG PH550 Minibeam Projector: This projector is known for its high-quality display and portability. It features a 720p HD resolution and 550 lumens of brightness, making it perfect for displaying images onto cakes and cookies. It also has a built-in battery, allowing you to use it for up to two and a half hours without being plugged in.
- Anker Nebula Capsule: This projector is small and portable, making it easy to take with you wherever you go. It features a 100 ANSI lumens of brightness and a 480p resolution, making it ideal for displaying images onto baked goods. The projector also has a built-in battery, allowing you to use it for up to four hours without being plugged in.
How to Choose the Best Pico Projector for Cookies and Cake Decorating
When choosing a pico projector for cookies and cake decorating, there are several factors to consider:
- Brightness: Look for a projector with at least 500 lumens of brightness to ensure that your images are clear and visible.
- Resolution: A higher resolution projector will provide sharper and more detailed images, making it easier to create intricate designs.
- Portability: Choose a projector that is lightweight and portable so you can easily take it with you wherever you go.
- Battery Life: Look for a projector with a long battery life so you can use it for extended periods of time without being plugged in.
- Connectivity: Choose a projector with HDMI or USB connectivity so you can easily connect it to your computer or phone.
How Can You Do Cake Decoration with Projectors?
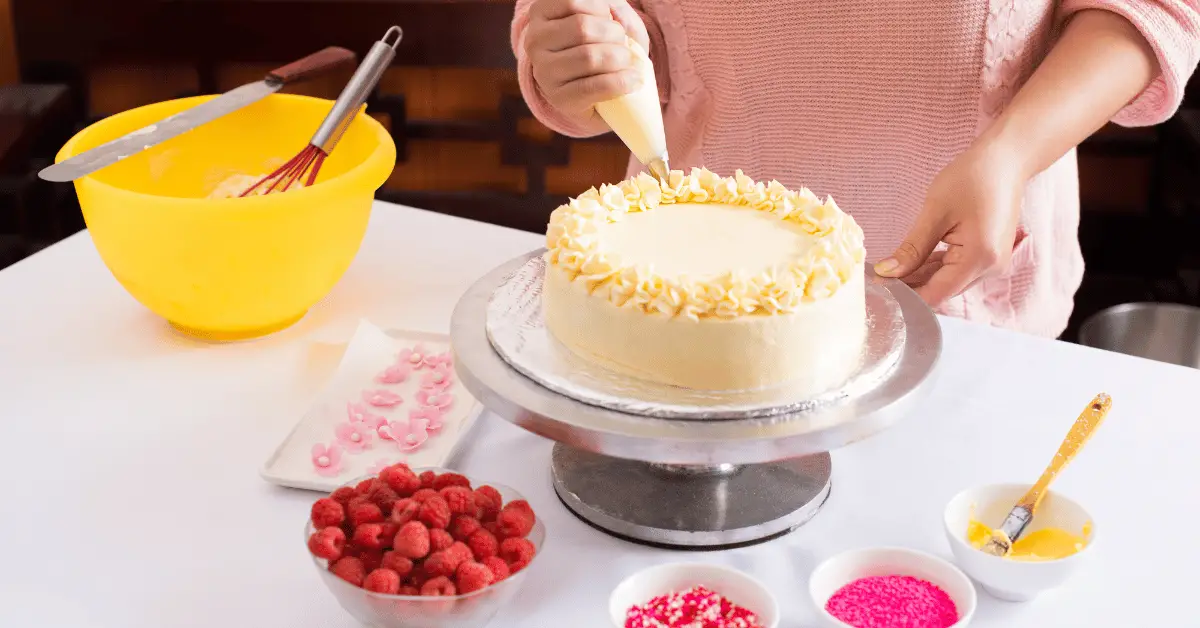
Cake decoration is a delicate art that requires precision and attention to detail. One of the most effective ways to achieve accurate results is by using a projector to display images onto the cake, making it easier to create intricate designs. In this article, we will discuss how you can use projectors to do cake decoration.
Step 1: Choose an Image
The first step in cake decoration with projectors is to choose an image that you want to display onto the cake. You can use an image of a cartoon character, a photograph, or any design that you want to replicate on the cake.
Step 2: Adjust the Size of the Image
After selecting an image, you need to adjust the size of the image to match the size of the cake. You can do this by using a software program like Photoshop or by adjusting the zoom on the projector.
Step 3: Prepare the Cake
Before projecting the image onto the cake, you need to prepare the cake by icing it with a layer of frosting. This will create a smooth surface for the projected image to adhere to.
Step 4: Project the Image onto the Cake
Once you have prepared the cake, you can project the image onto the cake using the projector. Adjust the focus and size of the image until it is the desired size and clarity.
Step 5: Trace the Image onto the Cake
After projecting the image onto the cake, you can use a food-safe pen or toothpick to trace the image onto the cake. This will create a guide for the design, making it easier to create an accurate representation of the image.
Step 6: Decorate the Cake
After tracing the image onto the cake, you can begin decorating the cake using frosting or other edible decorations. Use the traced image as a guide to create an accurate representation of the design.
Conclusion
Using projectors to do cake decoration is a simple and effective way to create accurate and intricate designs. By following these simple steps, you can choose an image, adjust the size of the image, prepare the cake, project the image onto the cake, trace the image onto the cake, and decorate the cake. With a little practice and patience, you can create beautiful and impressive cake designs that will impress your friends and family.