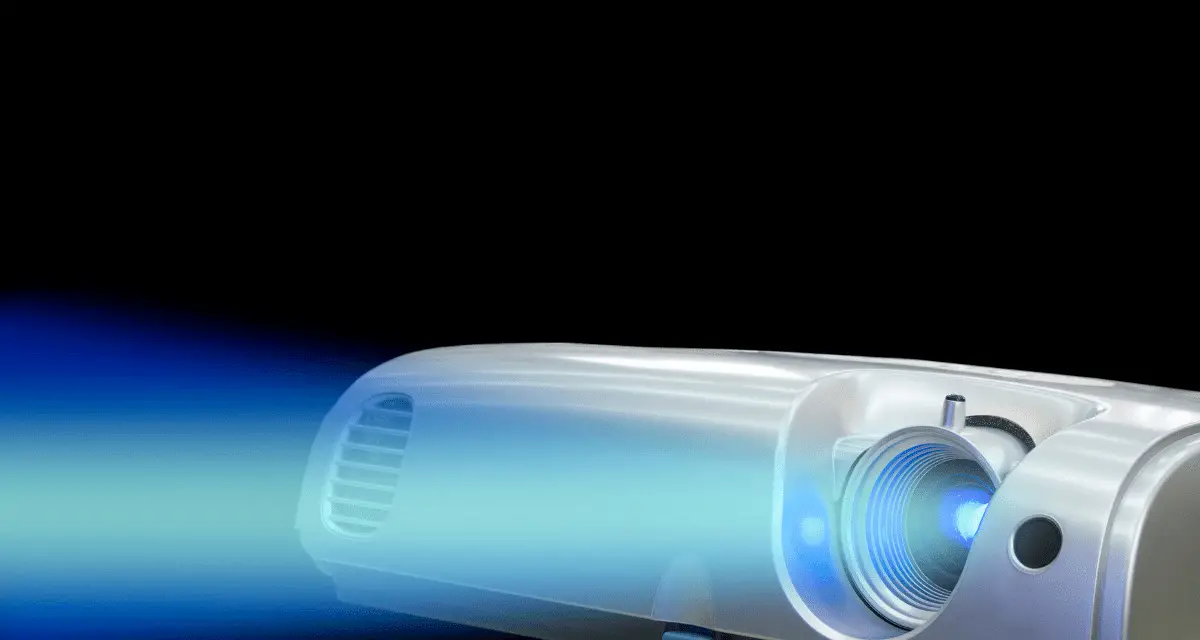
If looking for an easy-to-use projector that you can take with you on the go, the Philips picopix pocket projector is a great option. This device is perfect for traveling you’re and fits easily into your pocket or bag. You can project pictures, videos, and even documents with this projector.
Table of Contents
Here is a quick guide to get started:
- Turn on the projector by pressing the power button on the top.
- Connect your device to the projector using a USB cable or HDMI cable (not included).
- Adjust the focus by rotating the lens until the image is clear.
- Change the projection angle by adjusting the position of the projector relative to your screen or wall.
- Select your input source by pressing one of the buttons on top of the projector: TV, USB, SD card, or HDMI/MHL port.
- To turn off the projector, press and hold down the power button for two seconds.
Tips To Get Started With Philips pico pix pocket projector
Here are a few tips to start using Philips picopix pocket projector:
1. Turn on the projector and connect it to your device
To use the Philips picopix pocket projector, simply turn it on and connect it to your device. The projector will automatically start up and be ready to use within a few seconds. You can then begin projecting your desired content onto any nearby surface.
The projector is equipped with a variety of input options, so you can easily connect it to most devices. And thanks to the LED light source, you’ll enjoy bright, clear projections even in well-lit rooms. Whether you’re giving a presentation or watching a movie, the Philips picopix pocket projector is a great way to share your content with others.
2. Adjust the focus and brightness of the image
The projector is easy to use and has a variety of features that make it a great choice for any event. One of the most useful features of the PicoPix pocket projector is the ability to adjust the focus and brightness of the image.
This allows users to customize the projection to their specific needs. The focus can be adjusted to make the image clearer, and the brightness can be increased or decreased to create the perfect setting for any event. The PicoPix pocket projector is a great way to share images and videos with friends and family. With its simple design and customizable features, the PicoPix pocket projector is a great choice for any event.
3. Choose the correct projection type for your needs
Choosing the right projection type for your needs is important when using a Philips picopix pocket projector. There are three main types of projections – front, rear, and short-throw. Front projection is best for large rooms with a high ceiling, as the projector can be placed far away from the screen.
Rear projection is best for smaller rooms or spaces where there isn’t a lot of space to place the projector. Short-throw projection is ideal for small spaces where you want to project onto a wall or surface that is close to the projector.
When choosing a projection type, consider the size of the room, the height of the ceiling, and the distance of the wall or surface from the projector. By considering these factors, you can ensure that you choose the right projection type for your needs.
4. Connect a speaker or headphones to the projector
The Philips picopix pocket projector is a great way to take your music with you on the go. The projector is small and lightweight, making it easy to carry with you wherever you go. The projector comes with a speaker or headphones so you can enjoy your music without disturbing others. The speaker or headphones also allow you to enjoy your music without audio lag.
The projector has a long battery life so you can enjoy your music for hours on end. The projector is also Bluetooth enabled so you can connect it to your smartphone or tablet and stream your favorite tunes wirelessly. Whether you’re at the park, at the beach, or just relaxing at home, the Philips picopix pocket projector is the perfect way to enjoy your music.
5. Use the remote control to navigate through your presentation
The Philips PicoPix is a pocket-sized projector that you can use to give projections on the go. The remote control included with the product helps you to navigate your way through the presentation so that you can focus on your audience.
You can use the buttons on the remote to move back and forth between slides, as well as to pause or play the projection. In addition, the laser pointer function on the remote will help you to highlight important points during your presentation. With the Philips PicoPix, giving a memorable and professional presentation has never been easier.
6. Store and transport your projector safely
Your Philips PicoPix pocket projector is a sophisticated and sensitive piece of equipment, so it’s important to take care when storing and transporting it. Ideally, you should keep it in its original carrying case when not in use. If you don’t have the case, be sure to wrap the projector in soft padding to protect it from bumps and scratches.
When packing the projector for transport, make sure that it is securely wrapped and placed in a hard-sided container. Avoid putting any heavy items on top of the projector, as this could damage the lens or other components. With a little care, you can ensure that your Philips PicoPix pocket projector will provide years of enjoyment.
FAQ – How To Use Philips Picopix Pocket Projector
How do I connect my Philips PicoPix to a laptop using the HDMI cable?
The Philips PicoPix is a handheld projector that is ideal for use with laptops. The PicoPix comes with an HDMI cable that can be used to connect the projector to a laptop. To connect the PicoPix to a laptop, first, make sure that the power is turned off on both devices.
Next, connect the HDMI cable to the PicoPix and then connect the other end of the cable to the HDMI port on the laptop. Once the connection is made, turn on the PicoPix and then press the “Source” button on the projector to select the HDMI input. The image from the laptop will now be projected onto whatever surface you have placed the PicoPix.
How do I connect my phone to my Philips projector?
There are a few different ways to connect your phone to a Philips projector. One option is to connect wirelessly using WiFi or Bluetooth. To do this, you’ll need to enable WiFi or Bluetooth on both your projector and phone and then pair the two devices. Once they’re paired, you should be able to project your phone’s screen onto the projector.
Finally, some Philips projectors come with apps that allow you to connect and share content from your phone directly to the projector. Check to see if your projector has such an app and follow the instructions for connecting.
Final Note
The Philips PicoPix pocket projector is a great way to give presentations on the go. The remote control included with the product helps you to navigate your way through the presentation so that you can focus on your audience. You can use the buttons on the remote to move back and forth between slides, as well as to pause or play the projection.
In addition, the laser pointer function on the remote will help you to highlight important points during your presentation. With the Philips PicoPix, giving a memorable and professional presentation has never been easier.