Purchasing a new projector can provide an amazing home theater experience, but it’s important to properly mount it to ensure a safe and secure installation. Mounting a projector may seem daunting, but with the right tools and guidance, it can be a simple and straightforward process. In this article, we’ll provide some helpful tips and guidelines to help you mount your new projector purchase properly. Whether you’re mounting it to the ceiling or wall, these tips will ensure that your projector is securely installed for the best viewing experience.
Table of Contents
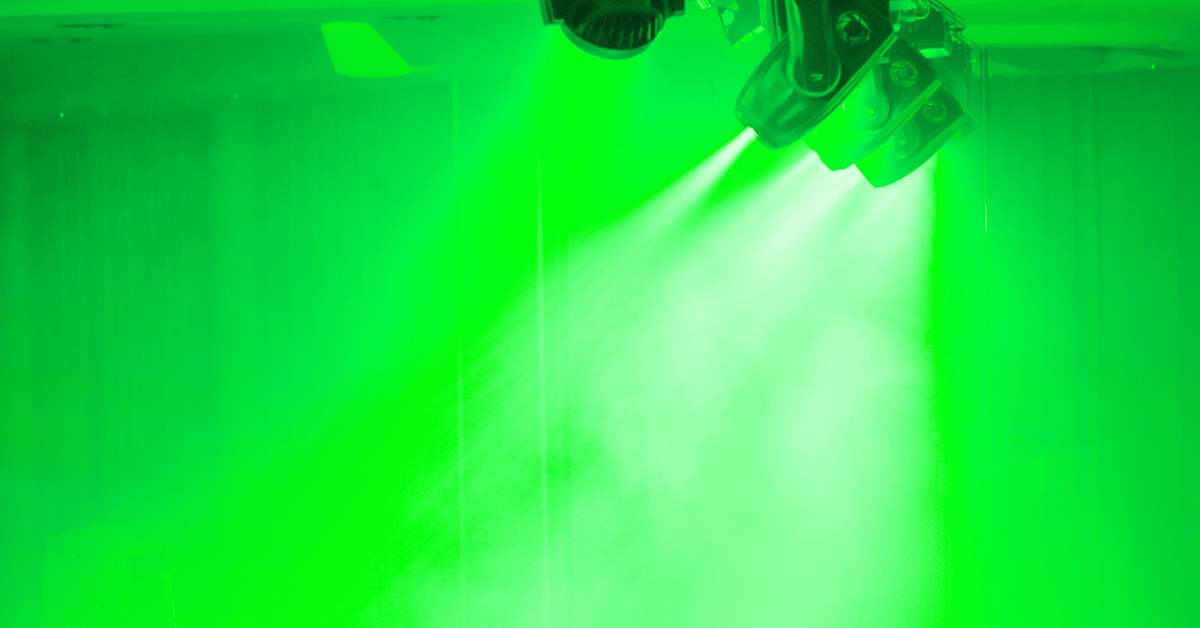
How to Mount Your New Projector Purchase?
If you’ve recently purchased a new projector, mounting it properly is essential for getting the best possible viewing experience. Mounting a projector may seem intimidating, but with the right tools and guidance, it can be a simple and straightforward process. In this article, we’ll provide some helpful tips and guidelines for mounting your new projector purchase.
Choose the Right Mounting Location
The first step in mounting your projector is to choose the right location. Consider the size of the room, the distance from the screen or wall, and the location of any electrical outlets or connections. You’ll want to choose a location that provides a clear and unobstructed view of the screen or wall, while also allowing for easy access to the projector for maintenance and adjustments.
Choose the Right Mounting Method
Once you’ve chosen the location for your projector, you’ll need to select the right mounting method. There are two primary methods for mounting projectors: ceiling mount and wall mount. Ceiling mounts are the most common and provide a more stable and secure installation. Wall mounts are less common but can be a good option for smaller rooms or when a ceiling mount is not possible.
Install the Mounting Hardware
Once you’ve chosen the mounting location and method, it’s time to install the mounting hardware. This will typically involve attaching the mounting bracket to the ceiling or wall, using screws or other hardware as necessary. Be sure to follow the manufacturer’s instructions carefully, and use the appropriate hardware for your specific projector and mounting location.
Attach the Projector to the Mount
Once the mounting hardware is in place, it’s time to attach the projector to the mount. Most projectors have a standard mounting screw pattern, so you should be able to easily attach the projector to the mounting bracket using the appropriate screws or other hardware. Be sure to follow the manufacturer’s instructions carefully, and double-check that the projector is securely attached to the mount.
Adjust the Projector
With the projector securely mounted, it’s time to make any necessary adjustments. This may include adjusting the projector’s focus, zoom, and keystone correction to ensure a clear and crisp image on the screen or wall. You may also need to adjust the projector’s position slightly to ensure that the image is centered on the screen or wall.
Test the Installation
Once the projector is properly mounted and adjusted, it’s important to test the installation to ensure that everything is working properly. Turn on the projector and adjust the settings as necessary to get the best possible image. Test the image from different angles and distances to ensure that it looks good from all viewing positions.
How do you use a projector for the first time?
Using a projector for the first time can seem overwhelming, but with some simple steps, you can quickly and easily set up your projector and start enjoying your favorite movies, TV shows, or presentations. Here are some basic steps to follow when using a projector for the first time:
- Choose the right location: Choose a location for your projector that has enough space and provides a clear and unobstructed view of the screen or wall. Also, consider the location of any electrical outlets or connections.
- Connect the cables: Connect the power cable and any necessary video cables, such as an HDMI or VGA cable, to the projector and the source device, such as a laptop, DVD player, or cable box. Make sure the cables are securely connected.
- Turn on the projector: Press the power button on the projector or use the remote control to turn it on. Wait for the projector to warm up and project the image onto the screen or wall.
- Adjust the image: Adjust the focus, zoom, and keystone correction settings as necessary to ensure a clear and crisp image on the screen or wall. You may also need to adjust the projector’s position slightly to ensure that the image is centered on the screen or wall.
- Adjust the settings: Adjust the projector’s settings as necessary to get the best possible image. This may include adjusting the brightness, contrast, and color settings to optimize the image quality.
- Test the sound: Test the sound to make sure it is working properly. If you are using external speakers, connect them to the projector using the appropriate cables.
- Enjoy: With everything set up and working properly, sit back and enjoy your favorite movies, TV shows, or presentations.
In conclusion, using a projector for the first time can be a simple and straightforward process if you follow these basic steps. By choosing the right location, connecting the cables, turning on the projector, adjusting the image and settings, testing the sound, and finally, enjoying your favorite media, you can get the most out of your new projector.
Conclusion
In conclusion, mounting a new projector purchase may seem daunting at first, but with the right tools and guidance, it can be a simple and straightforward process. By choosing the right mounting location and method, installing the mounting hardware correctly, attaching the projector securely, and making any necessary adjustments, you can ensure a safe and secure installation for the best viewing experience.