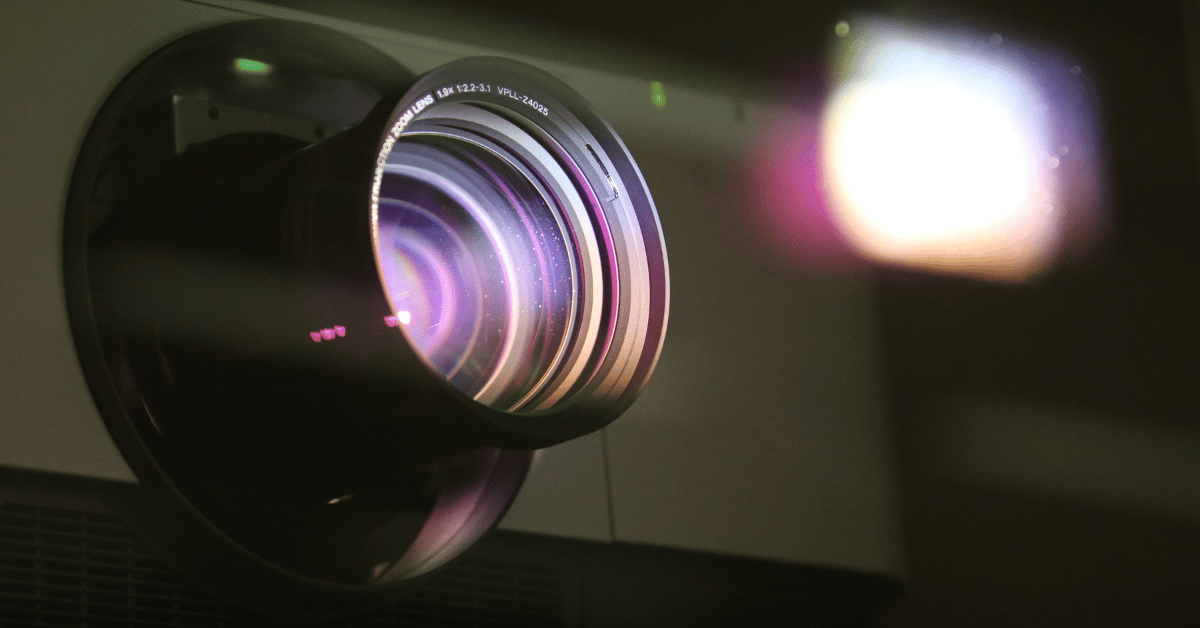
Mounting a projector screen is a crucial step in setting up a home theater or creating a presentation space. Mounting a projector screen may seem like a daunting task, but with the right tools and a little know-how, it can be a straightforward process. In this guide, we’ll walk you through the steps you need to follow to mount a projector screen, including selecting the right location, tools you’ll need, and step-by-step instructions for a successful installation. So let’s get started and learn how to mount a projector screen like a pro!
Table of Contents
How To Mount A Projector Screen?
A projector screen is an essential component of any home theater or presentation space. Mounting a projector screen may seem like a daunting task, but it’s actually a straightforward process that can be done with a few basic steps. In this guide, we’ll walk you through everything you need to know to mount a projector screen successfully.
Before you get started, it’s important to choose the right location for your projector screen. Consider the size of your room, the distance between your projector and screen, and the amount of ambient light in the space. Once you’ve chosen the perfect location, gather the following tools:
- Drill
- Screwdriver
- Measuring tape
- Stud finder
- Level
- Pencil
- Ladder (if needed)
Step 1: Mark the Position of the Screen
Using a pencil and measuring tape, mark the position of the screen on the wall. Use a level to ensure that the marks are straight and level.
Step 2: Locate the Studs in the Wall
Use a stud finder to locate the studs in the wall where you’ll be mounting the projector screen. Mark the center of each stud with a pencil.
Step 3: Attach the Mounting Brackets
Attach the mounting brackets to the wall using screws and a drill. Make sure to screw the brackets directly into the studs for a secure and stable installation.
Step 4: Attach the Screen to the Brackets
Attach the screen to the mounting brackets using the screws provided with the screen. Make sure that the screen is level and centered between the brackets.
Step 5: Test the Installation
Once the screen is securely attached to the mounting brackets, test the installation by gently pulling on the bottom of the screen. The screen should be stable and not move or sway.
Step 6: Enjoy Your New Projector Screen!
Your projector screen is now mounted and ready to use! Adjust the height and angle of the screen as needed to optimize your viewing experience.
How To Mount A Projector Screen On Wall?
A projector screen is an essential component of any home theater or presentation space. Mounting a projector screen on the wall is a popular choice, as it can save space and create a sleek and professional look. In this guide, we’ll walk you through everything you need to know to mount a projector screen on the wall successfully.
Before you get started, it’s important to choose the right location for your projector screen. Consider the size of your room, the distance between your projector and screen, and the amount of ambient light in the space. Once you’ve chosen the perfect location, gather the following tools:
- Drill
- Screwdriver
- Measuring tape
- Stud finder
- Level
- Pencil
- Ladder (if needed)
Step 1: Mark the Position of the Screen
Using a pencil and measuring tape, mark the position of the screen on the wall. Use a level to ensure that the marks are straight and level.
Step 2: Locate the Studs in the Wall
Use a stud finder to locate the studs in the wall where you’ll be mounting the projector screen. Mark the center of each stud with a pencil.
Step 3: Attach the Mounting Brackets
Attach the mounting brackets to the wall using screws and a drill. Make sure to screw the brackets directly into the studs for a secure and stable installation.
Step 4: Attach the Screen to the Brackets
Attach the screen to the mounting brackets using the screws provided with the screen. Make sure that the screen is level and centered between the brackets.
Step 5: Test the Installation
Once the screen is securely attached to the mounting brackets, test the installation by gently pulling on the bottom of the screen. The screen should be stable and not move or sway.
Step 6: Enjoy Your New Projector Screen!
Your projector screen is now mounted and ready to use! Adjust the height and angle of the screen as needed to optimize your viewing experience.
Conclusion
In conclusion, mounting a projector screen on the wall can be a great way to create a professional and streamlined look for your home theater or presentation space. By following the steps outlined in this guide, you can successfully mount your projector screen and enjoy your favorite movies or presentations in style. Remember to choose the right location, use a stud finder to locate the studs in the wall, and test the installation before enjoying your new projector screen. With a little effort, you can create a stunning home theater or presentation space that will impress your friends and family for years to come.

