Connecting your Nintendo Switch to a projector is a great way to enjoy your favorite games on the big screen. Whether you’re hosting a gaming night with friends or want a larger display for solo play, connecting your Switch to a projector is easy and straightforward. In this article, we’ll explore the different ways to connect a Switch to a projector and enjoy high-quality gaming on a larger screen. By following these tips, you’ll be able to enjoy your Switch on the big screen, creating a more immersive gaming experience.
Table of Contents
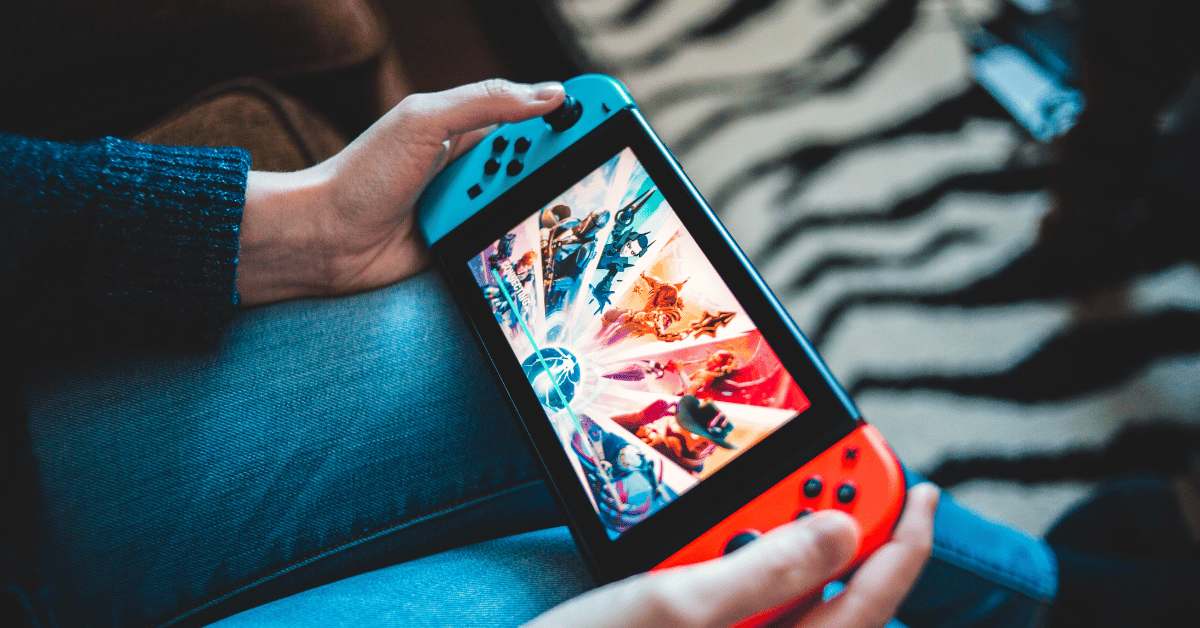
How To Connect a Switch To a Projector?
Connecting your Nintendo Switch to a projector is an excellent way to enjoy your favorite games on a larger screen. Whether you’re hosting a gaming night with friends or want a more immersive gaming experience, connecting your Switch to a projector is easy and straightforward. In this article, we’ll explore the different ways to connect a Switch to a projector and enjoy high-quality gaming on a larger screen.
Option 1: HDMI Connection
The most common way to connect your Nintendo Switch to a projector is through an HDMI connection. Simply connect one end of an HDMI cable to the Switch dock and the other end to the projector’s HDMI input port. Make sure to select the correct input on the projector to display the Switch’s image.
Option 2: USB-C to HDMI Adapter
If your projector doesn’t have an HDMI input port, you can use a USB-C to HDMI adapter to connect your Switch. Simply connect the USB-C end of the adapter to the Switch and the HDMI end to the projector’s HDMI input port. Again, make sure to select the correct input on the projector to display the Switch’s image.
Option 3: Wireless Connection
Some projectors support wireless connectivity, allowing you to connect your Switch wirelessly. To connect wirelessly, make sure the projector has built-in Wi-Fi and supports Miracast or AirPlay. Then, enable wireless display on your Switch and connect to the projector.
Adjusting the Settings
Once your Switch is connected to the projector, you may need to adjust the projector’s settings to optimize the image quality. Adjusting the brightness, contrast, and aspect ratio can help improve the image quality and make the image appear more vibrant and clear.
How do I connect a Switch to a projector without a dock?
Connecting a Nintendo Switch to a projector without a dock can be a bit more challenging, but it’s still possible. There are a few different options you can try, depending on the ports available on your projector.
Option 1: HDMI to VGA Adapter
If your projector has a VGA input port but not an HDMI input port, you can use an HDMI to VGA adapter to connect your Switch. Simply connect one end of the HDMI cable to your Switch and the other end to the HDMI input on the adapter. Then, connect a VGA cable from the adapter to the VGA input on your projector. Make sure to select the correct input on the projector to display the Switch’s image.
Option 2: USB-C to HDMI Adapter
Another option is to use a USB-C to HDMI adapter to connect your Switch to the projector. You’ll need to make sure that the adapter is compatible with your Switch and that it has an HDMI output port. Then, connect an HDMI cable from the adapter to the projector’s HDMI input port. Make sure to select the correct input on the projector to display the Switch’s image.
Option 3: Wireless Connection
If your projector supports wireless connectivity, you can connect your Switch wirelessly. To do this, make sure that the projector has built-in Wi-Fi and supports Miracast or AirPlay. Then, enable wireless display on your Switch and connect to the projector.
Adjusting the Settings
Once you’ve connected your Switch to the projector, you may need to adjust the projector’s settings to optimize the image quality. Adjusting the brightness, contrast, and aspect ratio can help improve the image quality and make the image appear more vibrant and clear.
Conclusion
In conclusion, connecting your Nintendo Switch to a projector is easy and straightforward. You can use an HDMI connection, a USB-C to HDMI adapter, or a wireless connection to connect your Switch to the projector. Once connected, adjusting the projector’s settings can help optimize the image quality and create a more immersive gaming experience. By following these tips, you’ll be able to enjoy your Switch on the big screen, creating a more enjoyable gaming experience.