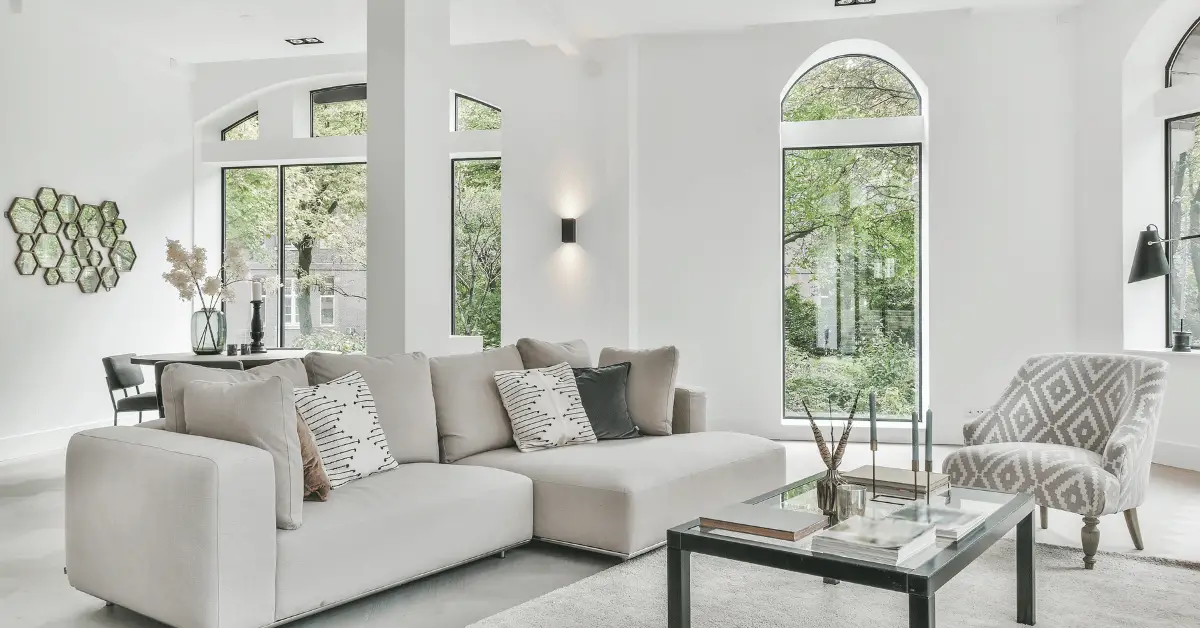
Transforming your living room into a cozy and immersive home theater is easier than you might think. Setting up a projector in your living room is an excellent way to achieve the ultimate cinema experience from the comfort of your own home. With the right equipment and guidance, you can easily create a movie theater in your living room. In this article, we’ll provide a step-by-step guide on how to set up a projector in your living room. We’ll cover the equipment you’ll need, how to choose the perfect projector, and the best placement for optimal viewing. Whether you’re a movie enthusiast or simply want to upgrade your living room, this guide will help you achieve the perfect home theater experience.
Table of Contents
How to Set Up a Projector in the Living Room?
Setting up a projector in your living room is a great way to create a cinema-like experience from the comfort of your own home. Whether you’re a movie enthusiast or simply want to upgrade your living room, setting up a projector can transform your space. In this article, we’ll provide a step-by-step guide on how to set up a projector in your living room. We’ll cover the equipment you’ll need, how to choose the perfect projector, and the best placement for optimal viewing.
Equipment Needed
Before setting up your projector, you’ll need the following equipment:
- Projector
- Screen or wall to project onto
- HDMI cable
- Audio equipment (optional)
- Power outlets and extension cords
Choosing the Perfect Projector
Choosing the right projector is essential for achieving the best viewing experience. When choosing a projector, consider the following factors:
- Lumens: The brightness of the projector is measured in lumens. A brighter projector is ideal for a larger screen or for viewing in a well-lit room. Aim for a projector with at least 2,500 lumens.
- Resolution: The resolution of the projector affects the clarity and sharpness of the image. Look for a projector with a resolution of at least 1080p for high-quality viewing.
- Contrast Ratio: A high contrast ratio is essential for achieving the best image quality. Look for a projector with a contrast ratio of at least 10,000:1.
- Throw Distance: Consider the distance between the projector and the screen. Choose a projector with the appropriate throw distance for your living room.
Setting up the Projector
Here are the steps to set up your projector in your living room:
- Choose the best location for the projector. Consider the distance between the projector and the screen or wall, as well as the amount of light in the room.
- Mount the projector securely to the ceiling or use a tripod stand. Make sure the projector is level and secure.
- Connect the projector to the computer or laptop using an HDMI cable. Most projectors have an HDMI input port, which is the easiest and most common way to connect your computer or laptop.
- Adjust the projector settings. Use the projector’s remote control to adjust the focus, zoom, and keystone settings. This will help ensure that the image is clear and properly proportioned.
- Adjust the audio settings. If you have audio equipment, connect it to the projector and adjust the settings for optimal sound.
Optimizing the Projector Placement
To optimize the projector placement, consider the following tips:
- The projector should be placed at least 10 feet away from the screen or wall to avoid any shadows or distortions.
- The projector should be placed at the same height as the center of the screen.
- The screen or wall should be white or light-colored to provide the best viewing experience.
Frequently Asked Question
Q: What equipment do I need to set up a projector in my living room?
A: You will need a projector, a screen or wall to project onto, an HDMI cable, audio equipment (optional), and power outlets and extension cords.
Q: What factors should I consider when choosing a projector?
A: Consider the brightness (measured in lumens), resolution, contrast ratio, and throw distance of the projector.
Q: Can I use a white wall as a projector screen?
A: Yes, you can use a white or light-colored wall as a projector screen, but a dedicated projector screen is ideal for the best viewing experience.
Q: How far should the projector be placed from the screen or wall?
A: The projector should be placed at least 10 feet away from the screen or wall to avoid any shadows or distortions.
Q: How do I adjust the projector settings?
A: Use the projector’s remote control to adjust the focus, zoom, and keystone settings for optimal image quality.
Q: Do I need audio equipment for my projector setup?
A: Audio equipment is optional, but it can enhance the viewing experience by providing better sound quality.
Q: Can I mount the projector to the ceiling?
A: Yes, you can mount the projector securely to the ceiling or use a tripod stand for better stability.
Q: How do I optimize the placement of the projector?
A: The projector should be placed at the same height as the center of the screen, and the screen or wall should be white or light-colored for the best viewing experience.
Conclusion
Setting up a projector in your living room can transform your space into a cozy and immersive home theater. By following these steps, you can set up your projector and optimize it for optimal performance. Remember to choose a projector with the appropriate brightness, resolution, and contrast ratio, and consider the best placement for optimal viewing. With a projector setup, you can enjoy movies, TV shows, and video games on a large screen from the comfort of your own home.

