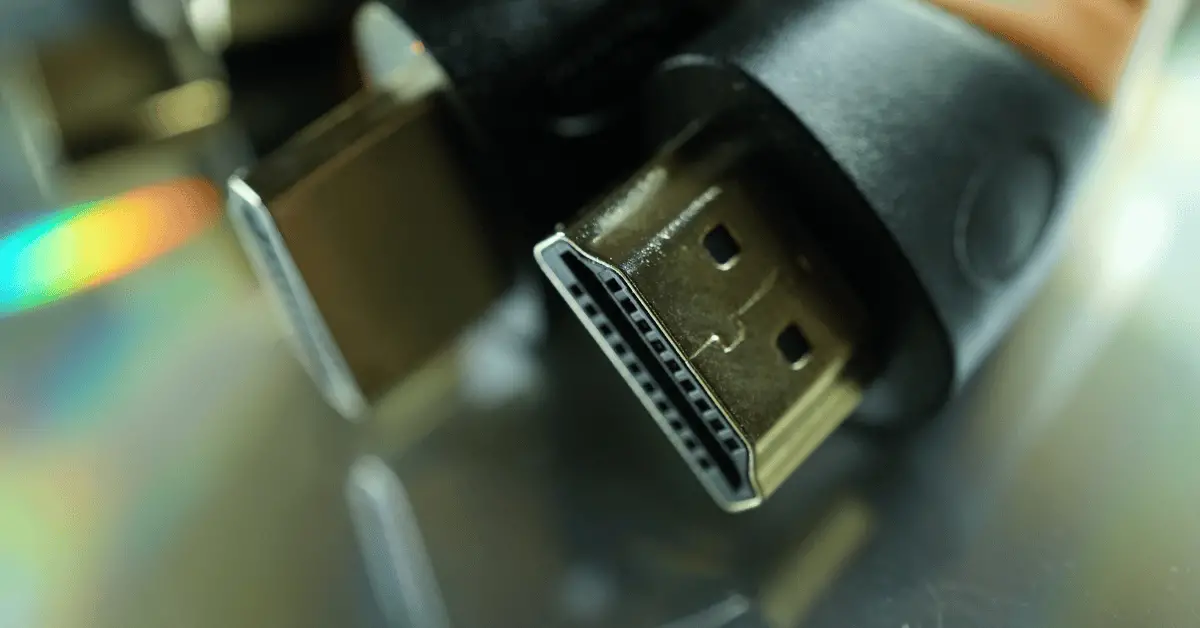
Connecting a MacBook to an HDMI projector is a useful skill that can come in handy for various situations. Whether you’re giving a presentation, watching a movie, or gaming with friends, being able to display your MacBook screen on a larger projector screen can enhance your viewing experience. However, if you’re new to using projectors or don’t have much experience with Macs, the process of connecting the two devices might seem daunting. But fear not, as this guide will provide you with a step-by-step tutorial on how to connect your MacBook to an HDMI projector, making the process easy and stress-free.
Table of Contents
How To Connect MacBook To HDMI Projector?
Connecting a MacBook to an HDMI projector can be a useful skill to have, whether you’re giving a presentation, watching a movie, or gaming with friends. Fortunately, the process is straightforward and can be completed with just a few simple steps. In this guide, we’ll take you through each step in detail to ensure that you can connect your MacBook to an HDMI projector with ease.
Step 1: Check Your MacBook’s Ports
The first step is to check the ports on your MacBook. Depending on the age and model of your MacBook, it may have different ports. The most common ports are USB-C, Thunderbolt, HDMI, and Mini DisplayPort. Look for the port that matches the HDMI cable you have available, as this is the one you’ll need to use to connect to the projector.
Step 2: Check the Projector’s Ports
Next, check the ports on the HDMI projector. The projector should have at least one HDMI port, which is typically labeled “HDMI In.” If your projector has multiple HDMI ports, make sure you’re using the one labeled “HDMI In” or “Input 1.” If you’re unsure which port to use, consult the projector’s manual.
Step 3: Connect the MacBook to the HDMI Projector
Once you’ve identified the ports on your MacBook and projector, it’s time to connect the two devices. Start by turning off both the MacBook and the projector. Then, plug one end of the HDMI cable into the MacBook’s HDMI port and the other end into the HDMI port on the projector.
Step 4: Turn on the MacBook and the Projector
Now that the two devices are connected, turn them both on. Make sure the projector is set to the correct input source. This can usually be done by pressing the “Input” or “Source” button on the projector’s remote control. Select the HDMI input that you plugged the cable into.
Step 5: Adjust the Display Settings on the MacBook
Once both devices are turned on and connected, your MacBook should automatically detect the projector and start mirroring the display. If not, go to the Apple menu on your MacBook and select “System Preferences.” Then click on “Displays” and make sure “Mirror Displays” is checked. If the resolution on the projector isn’t what you want, you can change it by selecting “Scaled” and choosing the desired resolution.
How do I display my Mac screen on a projector?
To display your Mac screen on a projector, you will need to connect your Mac to the projector using an appropriate cable, such as an HDMI or VGA cable. Follow these steps to display your Mac screen on a projector:
Step 1: Check the projector’s ports
Check the ports available on your projector. Depending on the type of projector you are using, it may have an HDMI port, a VGA port, or both. Identify which port is suitable for your Mac.
Step 2: Check the ports on your Mac
Check the ports on your Mac to determine which cable you will need. Macs typically have USB-C, Thunderbolt, HDMI, or Mini DisplayPort. Make sure you have the appropriate cable to connect your Mac to the projector.
Step 3: Connect the cable to the Mac
Plug one end of the cable into your Mac’s appropriate port and the other end into the projector’s appropriate port. Turn on your Mac and projector.
Step 4: Adjust display settings
Your Mac should automatically detect the projector and start displaying the screen. However, if it doesn’t, you may need to adjust your display settings manually. To do this, go to the Apple menu and select “System Preferences.” Click on “Displays” and select “Detect Displays.” You can also select “Mirror Displays” to have the same image on your Mac screen and the projector.
Step 5: Adjust resolution
If the resolution on the projector is not suitable, you can adjust it by selecting “Scaled” under the “Displays” menu. Choose the resolution that is most suitable for your projector.
Step 6: Adjust brightness and focus
Finally, adjust the brightness and focus of the projector as necessary to ensure a clear and visible display.
Conclusion
In conclusion, connecting a MacBook to an HDMI projector is a straightforward process that can be completed in just a few steps. By following the steps outlined above, you can easily connect your MacBook to an HDMI projector and start enjoying your favorite content on a larger screen. Whether you’re giving a presentation, watching a movie, or gaming with friends, this guide has you covered.

