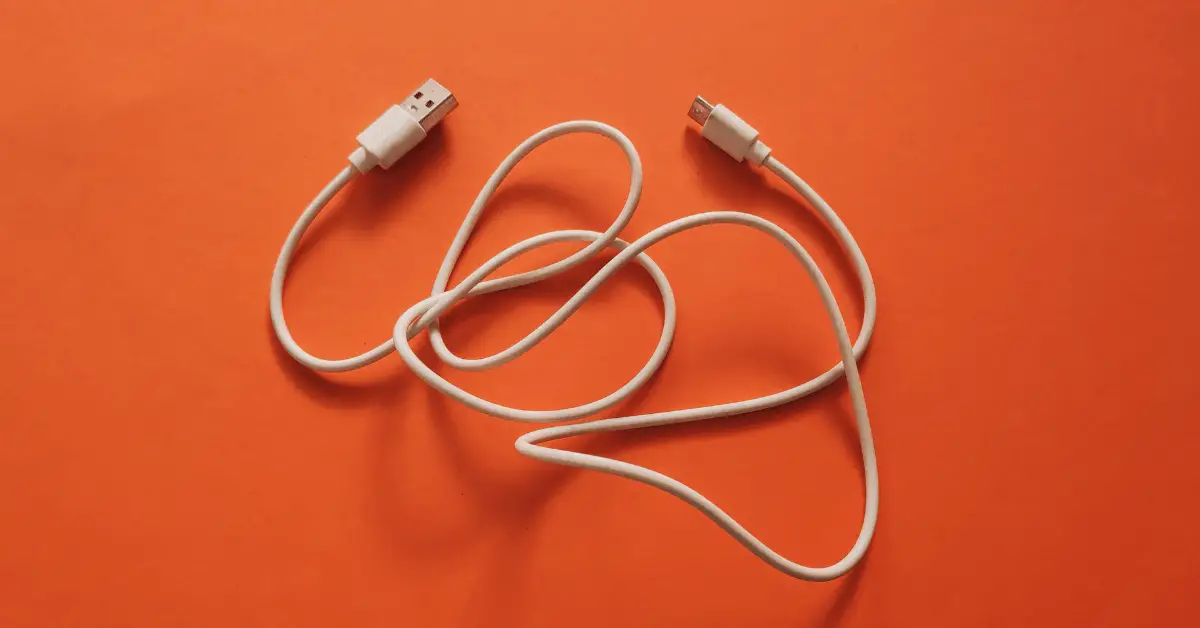
If you’re looking to share photos, videos, or other content from your Android phone on a larger screen, connecting it to a projector via USB cable is a great option. While many projectors support HDMI or wireless connections, connecting via USB can be an easier and more straightforward option, especially if you don’t have a Chromecast or other streaming device. In this blog, we’ll walk you through the process of connecting your Android phone to a projector via USB cable, step-by-step. Whether you’re using your phone for work presentations or just to enjoy movies and videos on a larger screen, this guide will ensure a seamless connection. So, let’s get started!
Table of Contents
How to Connect Android Phone to Projector via USB?
Connecting your Android phone to a projector via USB cable is a simple and easy way to share your photos, videos, and other content on a larger screen. Here’s a step-by-step guide to connecting your Android phone to a projector via USB:
Step 1: Check Compatibility
Before you start, you need to make sure that your Android phone supports USB output. Most modern Android phones do, but it’s always a good idea to check your phone’s specifications to confirm. You’ll also need a compatible projector with a USB port.
Step 2: Get a USB Cable
Next, you’ll need to get a USB cable that’s compatible with your phone. Most Android phones use a USB-C or micro-USB connector, so make sure to get the right cable for your phone. You can purchase a USB cable from most electronic stores or online retailers.
Step 3: Connect the USB Cable to Your Phone
Once you have the USB cable, connect one end to your phone’s USB port. If your phone has a USB-C port, you may need to use an adapter to connect the USB cable to your phone.
Step 4: Connect the USB Cable to the Projector
Now, connect the other end of the USB cable to the projector’s USB port. Make sure to select the correct USB port on the projector, as some projectors have multiple USB ports.
Step 5: Configure the Projector
Once the cable is connected, turn on the projector and select the USB input. Your Android phone’s screen should appear on the projector’s screen. If it doesn’t, make sure that you’ve selected the correct input on the projector and that the USB cable is properly connected.
Step 6: Adjust the Settings
Now that your Android phone is connected to the projector, you may need to adjust the settings on your phone to optimize the display. Depending on your phone, you may need to change the screen resolution, orientation, or aspect ratio to ensure that the image appears correctly on the projector.
In conclusion, connecting your Android phone to a projector via USB cable is a simple and straightforward process that can be done in just a few steps. By following these steps, you can display your photos, videos, and other content on a larger screen and enjoy a more immersive viewing experience. Whether you’re using your phone for work presentations or just to enjoy movies and videos, this guide will ensure that your Android phone is properly connected to the projector via USB.
Conclusion
In conclusion, whether you choose to connect your Android phone to a projector via USB cable or wirelessly, both methods are convenient and easy to use. By following the steps outlined in these guides, you can display your photos, videos, and other content on a larger screen and enjoy a more immersive viewing experience. The choice between wired and wireless connection methods may depend on your specific needs and preferences, such as the availability of USB ports or the need for mobility. Regardless of which method you choose, connecting your Android phone to a projector is a great way to share your content with others and take your viewing experience to the next level.

