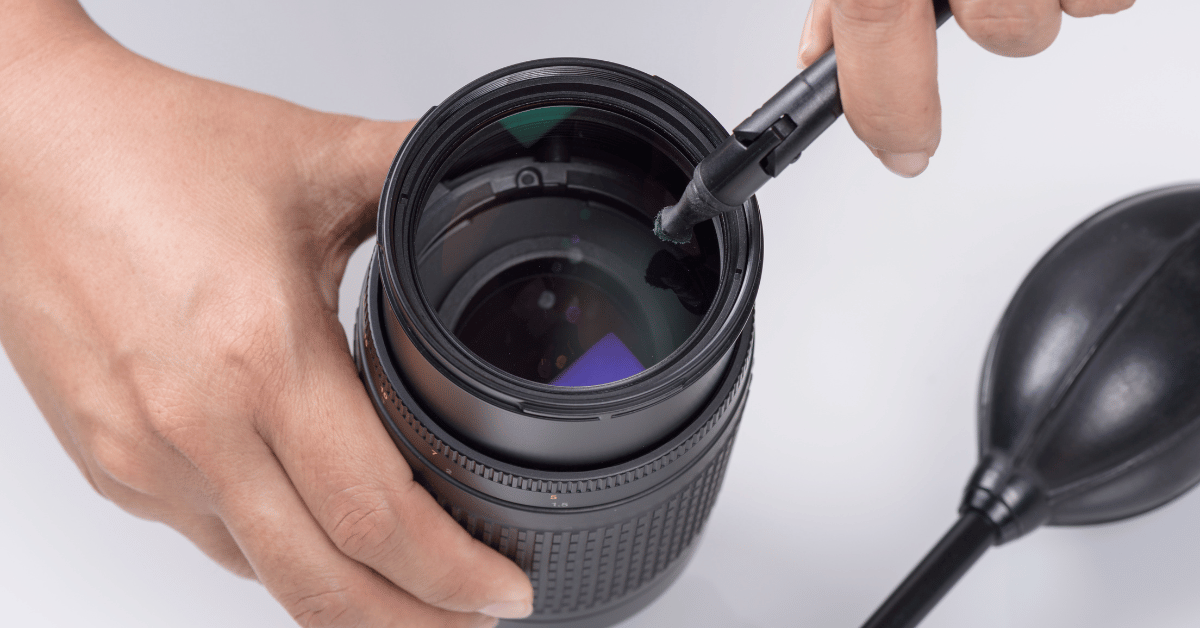
A dirty projector lens can lead to a blurry or distorted image, making it challenging to enjoy your media content. Dust, fingerprints, and other debris can accumulate on the lens, reducing the quality of your projection. Cleaning your projector lens from the outside is a quick and easy task that can improve the clarity and sharpness of your images. In this article, we’ll guide you through the steps for cleaning a projector lens from the outside, so you can enjoy high-quality projection without any distractions.
Table of Contents
How To Clean a Projector Lens From the Outside?
Projector lenses can easily become dirty and collect dust, fingerprints, and other debris, leading to a reduction in image quality and clarity. Fortunately, cleaning the lens from the outside is a straightforward task that can be done quickly and easily with a few simple steps. In this article, we’ll guide you through the steps for cleaning a projector lens from the outside.
Step 1: Turn Off the Projector – Before cleaning the lens, turn off the projector and unplug it from the power source to avoid any potential electric shock.
Step 2: Gather Supplies – To clean the projector lens, you’ll need a microfiber cleaning cloth or lens cleaning tissue, and a lens cleaning solution. Avoid using regular household cleaning products, as they may damage the lens.
Step 3: Dust the Lens – Use a clean, dry microfiber cloth or a lens cleaning brush to gently remove any dust or debris from the lens. Avoid applying too much pressure or rubbing the lens, as this can scratch the surface.
Step 4: Apply Lens Cleaning Solution – Spray a small amount of lens cleaning solution onto the microfiber cloth or lens cleaning tissue. Be careful not to spray the solution directly onto the lens, as it can damage the internal components.
Step 5: Wipe the Lens – Using the microfiber cloth or lens cleaning tissue, gently wipe the lens in a circular motion. Avoid applying too much pressure or rubbing the lens, as this can scratch the surface.
Step 6: Inspect the Lens – After cleaning the lens, inspect it for any remaining debris or streaks. If necessary, repeat the cleaning process until the lens is clean and clear.
Step 7: Reassemble the Projector – Once the lens is clean, reassemble the projector and plug it back in. Turn on the projector and test the image quality to ensure that it’s clear and sharp.
How do you clean a blurry projector lens?
A blurry projector lens can be frustrating, but the good news is that it’s often caused by a dirty lens, which can be easily cleaned. Here are the steps to clean a blurry projector lens:
Step 1: Turn off the projector and unplug it from the power source.
Step 2: Remove the lens cap or cover.
Step 3: Use a clean, dry microfiber cloth or lens cleaning brush to gently remove any dust or debris from the lens. Avoid applying too much pressure or rubbing the lens, as this can scratch the surface.
Step 4: Apply lens cleaning solution to a lens cleaning tissue or a clean, soft microfiber cloth. Avoid spraying the solution directly onto the lens.
Step 5: Gently wipe the lens in a circular motion with the lens cleaning tissue or microfiber cloth. Avoid applying too much pressure or rubbing the lens, as this can scratch the surface.
Step 6: Inspect the lens for any remaining debris or streaks. If necessary, repeat the cleaning process until the lens is clean and clear.
Step 7: Once the lens is clean, reattach the lens cap or cover.
Step 8: Turn on the projector and test the image quality to ensure that it’s clear and sharp.
If cleaning the lens doesn’t improve the image quality, the issue may be caused by a different problem, such as a faulty lamp, a damaged lens, or an issue with the projector’s internal components. In this case, it’s best to consult the manufacturer’s manual or contact customer support for assistance.
Conclusion
In conclusion, cleaning a projector lens from the outside is a simple task that can improve the clarity and sharpness of your image. By following these steps, you can keep your projector lens clean and free of dust, fingerprints, and other debris, ensuring that you enjoy high-quality projection every time.

