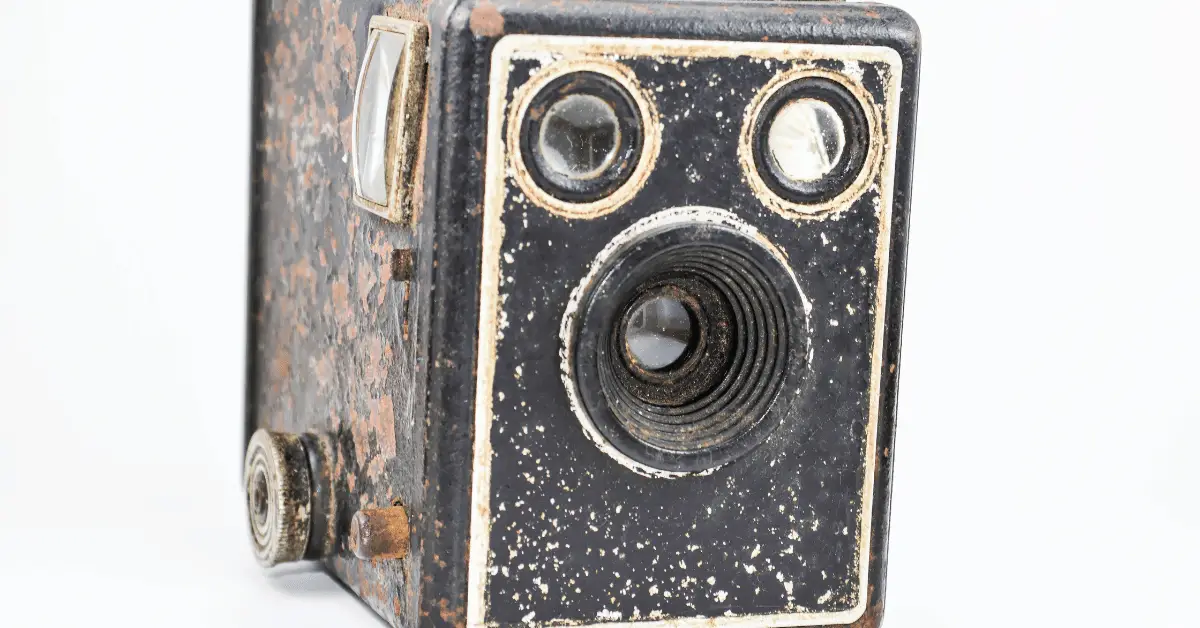
Pinhole projectors are a simple yet effective way to view a solar eclipse or other celestial event. They work by projecting the image of the sun onto a surface through a small hole, allowing viewers to safely observe the event without looking directly at the sun. While pinhole projectors can be created using simple materials found at home, the science behind how they work is fascinating. In this article, we will explore how pinhole projectors work and provide step-by-step instructions for creating your own pinhole projector to view a solar eclipse or other celestial event safely.
Table of Contents
How Do Pinhole Projectors Work?
Pinhole projectors are a simple and safe way to view a solar eclipse or other celestial event without damaging your eyesight. They work by projecting an image of the sun onto a surface through a small hole, using the principle of light propagation known as rectilinear propagation. In this article, we will explore the science behind how pinhole projectors work, as well as provide step-by-step instructions for creating your own pinhole projector to view a solar eclipse or other celestial event safely.
The Science Behind Pinhole Projectors
Pinhole projectors work based on the principle of rectilinear propagation, which states that light travels in straight lines. When light from a bright source, such as the sun, passes through a small hole, it creates an inverted image of the source on a surface behind the hole. The smaller the hole, the sharper the image will be, as less light is allowed to pass through and create a more focused image.
Creating a Pinhole Projector
To create a pinhole projector, you will need the following materials:
- A piece of cardboard or heavy paper
- A pin or needle
- Scissors
- Tape or glue
- A white or light-colored surface to project the image onto, such as a wall or piece of paper
Here are the steps to create a pinhole projector:
- Cut a small square or rectangle out of the cardboard or heavy paper.
- Use the pin or needle to poke a small hole in the center of the square or rectangle. The hole should be no larger than 1/8 inch in diameter.
- Tape or glue the square or rectangle onto a larger piece of cardboard or heavy paper to create a handle for your projector.
- Find a location with a clear view of the sun. Hold the pinhole projector up to the sun, with the pinhole facing the sun and the white surface behind the hole.
- Move the projector around until you see the image of the sun projected onto the white surface. The image will be inverted and may be blurry, but it should be visible.
Safety Tips for Viewing Solar Eclipses
While pinhole projectors are a safe way to view a solar eclipse or other celestial event, it is important to take precautions to protect your eyesight. Here are some safety tips to keep in mind:
- Do not look directly at the sun without proper eye protection. This can cause permanent eye damage or blindness.
- Use certified solar eclipse glasses or a solar filter to view the sun directly. These can be purchased from reputable vendors or borrowed from a local library or astronomy club.
- Do not use household items, such as sunglasses or binoculars, to view the sun. These do not offer adequate protection and can cause permanent eye damage or blindness.
How to Make and Use a DIY Pinhole Projector?
A pinhole projector is a simple yet effective way to view a solar eclipse or other celestial event without damaging your eyesight. It works by projecting an image of the sun onto a surface through a small hole, using the principle of light propagation known as rectilinear propagation. Here are step-by-step instructions for making and using a DIY pinhole projector:
Materials needed:
- A shoebox or other small cardboard box
- A piece of white paper
- Aluminum foil
- A pin or needle
- Scissors
- Tape
Instructions:
- Take the shoebox and remove any stickers or labels from the outside of the box.
- Cut a rectangular hole in the center of one of the shorter sides of the box.
- Tape a piece of aluminum foil over the hole, making sure it is tightly secured.
- Use a pin or needle to poke a small hole in the center of the aluminum foil. The hole should be no larger than 1/8 inch in diameter.
- Cut a piece of white paper to fit inside the box and tape it to the opposite side of the box from the hole.
- To use the pinhole projector, place the box on a flat surface with the aluminum foil facing the sun. The pinhole will project an image of the sun onto the white paper inside the box. Adjust the box and the paper until you have a clear, focused image of the sun.
Safety Tips:
- Do not look directly at the sun without proper eye protection. This can cause permanent eye damage or blindness.
- Use certified solar eclipse glasses or a solar filter to view the sun directly. These can be purchased from reputable vendors or borrowed from a local library or astronomy club.
- Do not use household items, such as sunglasses or binoculars, to view the sun. These do not offer adequate protection and can cause permanent eye damage or blindness.
Conclusion
In conclusion, pinhole projectors are a simple and safe way to view a solar eclipse or other celestial event. They work based on the principle of rectilinear propagation, which states that light travels in straight lines. By creating a small hole in a piece of cardboard or heavy paper, you can project an inverted image of the sun onto a white surface and view the event safely. Remember to always take precautions to protect your eyesight when viewing a solar eclipse or other celestial event.

