Projectors are a great way to display movies, presentations, or slideshows on a larger screen. If you don’t have a permanent mount for your projector, don’t worry! Temporary mounting is a simple and easy solution that doesn’t require any drilling or special tools. In this article, we will guide you through the steps to temporarily mount a projector, including selecting a location, using a mounting bracket or stand, and adjusting the projector for optimal viewing. So whether you’re planning a movie night or a business presentation, you can set up your projector in no time and enjoy a larger-than-life viewing experience.
Table of Contents
How Do I Temporarily Mount a Projector?
Projectors are an excellent tool for displaying presentations, movies, or slideshows on a larger screen. However, setting up a projector can be a daunting task, especially if you don’t have a permanent mount for it. Luckily, temporary mounting is a simple and easy solution that doesn’t require any drilling or special tools. In this article, we’ll guide you through the steps to temporarily mount a projector, including selecting a location, using a mounting bracket or stand, and adjusting the projector for optimal viewing.
Step 1: Choose a Location The first step in temporarily mounting a projector is choosing a suitable location. You’ll need to find a flat surface that is sturdy enough to support the weight of the projector and any mounting equipment. Make sure the location is near a power source and has enough space to accommodate the screen size you want. It’s also important to consider the lighting in the room; a dark room will provide a better viewing experience than a well-lit one.
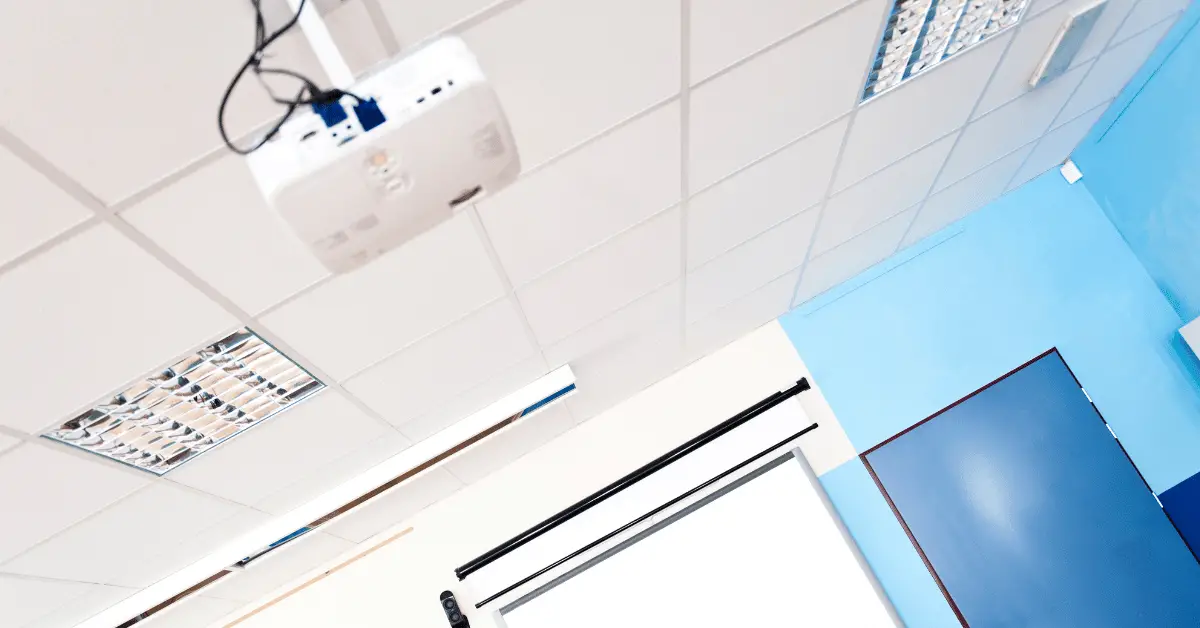
Step 2: Select a Mounting Bracket or Stand Once you have chosen a location, you’ll need to select a mounting bracket or stand for your projector. There are many different types of brackets and stands available, so it’s important to choose one that is compatible with your projector and fits the size and weight requirements. You can find universal mounting brackets that work with most projectors or specific brackets designed for your particular model.
If you don’t want to use a mounting bracket, you can also use a portable projector stand. These stands are lightweight and easy to move, making them a great option for temporary setups. They come in a variety of sizes and styles, so you can choose one that fits your needs.
Step 3: Set Up the Mounting Bracket or Stand Once you have your mounting bracket or stand, it’s time to set it up. Follow the manufacturer’s instructions to assemble the bracket or stand and attach it to your projector. Make sure the bracket or stand is securely attached to the projector and that the projector is balanced.
Step 4: Position the Projector Once your bracket or stand is set up, it’s time to position the projector. Place the projector on the mounting bracket or stand and adjust the height and angle to ensure that the image is properly aligned with the screen. You may need to adjust the focus or zoom to get the best image quality.
Step 5: Connect the Cables Now that your projector is positioned, it’s time to connect the cables. Connect the power cable and any other cables necessary to connect your projector to your computer or other device. Make sure the cables are secured and not in the way of the projector’s fan.
Step 6: Test and Adjust Once everything is connected, it’s time to test and adjust the projector. Turn on the projector and adjust the focus and zoom until you have a clear and sharp image. If the image is not properly aligned, adjust the position of the projector and try again. You may need to make several adjustments to get the perfect setup.
How do you hang a projector screen on the wall without drilling?
If you’re looking to hang a projector screen on a wall but don’t want to drill holes, there are a few alternative options you can consider. Here are three different methods you can use to hang a projector screen without drilling:
- Using Adhesive Hooks or Strips One option is to use adhesive hooks or strips to hang your projector screen. You can find these at most hardware or home improvement stores, as well as online retailers. Be sure to choose a hook or strip that is strong enough to hold the weight of your screen. Follow the manufacturer’s instructions to attach the hooks or strips to the wall and then hang the screen from the hooks or strips. Keep in mind that adhesive hooks or strips may not work well on all types of walls, so be sure to check the product’s packaging for compatibility.
- Using Tension Rods Another option is to use tension rods to hang your projector screen. You can find tension rods at most home improvement stores or online retailers. Choose a tension rod that is long enough to span the width of your screen. Install the tension rod by twisting it to expand it until it fits snugly between the two walls. Then, hang the screen from the tension rod by using the loops or grommets on the top edge of the screen.
- Using a Freestanding Frame or Stand A third option is to use a freestanding frame or stand to support your projector screen. This option may work best if you need to move your screen around frequently. Look for a frame or stand that is sturdy and adjustable, so you can customize the height and angle of your screen. Place the screen on the frame or stand and adjust it as needed for optimal viewing.
In conclusion, there are several ways to hang a projector screen on a wall without drilling. You can use adhesive hooks or strips, tension rods, or a freestanding frame or stand to support your screen. Consider which option works best for your needs and the layout of your space, and be sure to follow the manufacturer’s instructions to ensure a secure installation.
Conclusion
In conclusion, there are several ways to hang a projector screen on the wall without drilling. You can use adhesive strips or hooks, tension rods, or a tripod or stand to support your screen. Consider which option works best for your needs and the layout of your space, and be sure to follow the manufacturer’s instructions to ensure a secure installation.